Templates allow you to streamline the document-sending process, by creating a template of the document you will send, complete with all data fields you wish to insert. Below, you will find a step-by-step tutorial for creating a new template. This is just an example, so you are encouraged to get creative with your own use of data fields and content blocks.
Here are some key steps you should perform when creating a new template:
Click the Add Template button
The Add Template button is located in the top-right corner of the templates table. Click here to open the Create Template overlay.
Select a template type
On the Create Template overlay, you will first select the type of template that you wish to create. The type of template that you create will determine what actions your signers can perform. Below is a list explaining how each template type is used:
Contract: These are legally binding documents between two or more parties. A signature content block is required for each signer assigned to the contract. Learn more about contract templates in the help guide, What are contracts?
Form: These are data-retrieval documents for the collection of contact details and other important information. A data field or content block is required for each signer assigned to the form. Learn more about form templates in the help guide, What are forms?
Printout: These are read-only documents for recipients to print out or save to their computers. There are no data field or content block requirements for printouts. Learn more about printout templates in the help guide, What are printouts?
In our example, we have selected a contract template.
Upload the file that will be used for the template
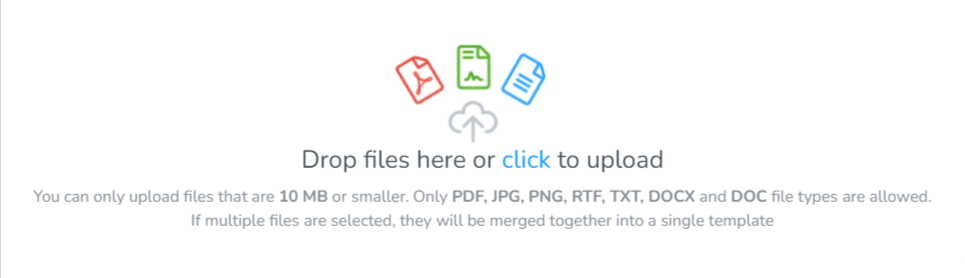
Once you have specified which type of template you wish to create, it is time to upload that file from your computer. Click on the word "click" to select your files, or drag-and-drop files onto the overlay, from a folder on your computer. A wide range of file formats are accepted including PDF, PNG, RTF, TXT, DOC and DOCX files. The only restriction is a maximum individual file size of 10MB.
If the size of a file you wish to use is larger than 10MB, we recommend converting the file into another one of the supported file formats, in order to shrink the size. This can be done with a third-party file convertor application.
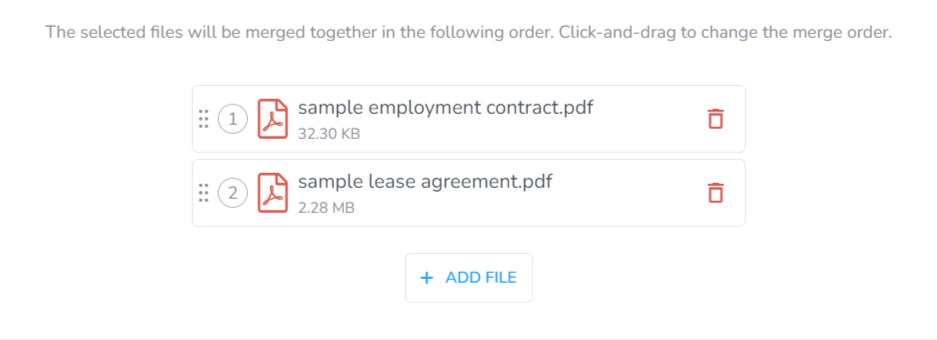
Once uploaded, the files will appear in the upload field, with the file name and size visible. The numbers to the left represent the order that the files will be merged. There is a trash icon to the right of the file name, that will allow you to remove the file you just uploaded, in order to upload a new one. Multiple files can be used for a template. In our example, we have uploaded an employment contract and lease agreement that will be sent to new hires for signing.Click the Next button when you are ready to proceed to the next step.
Add signers to the template
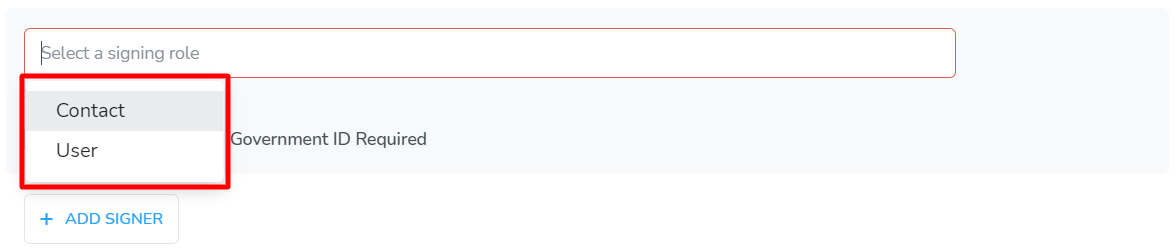
Now it is time to specify who will be signing this template, once it has been sent.You have two options: a contact from your address book, or a user from your account. Each signing role will be able to perform different actions in different types of templates. Below is a list explaining how each signing role differs from each other:
Contact: A contact is a person who has been added to your address book either automatically through a booking in your channel manager account, or manually through the dashboard. Learn more about contact signers in the help guide, What are contacts?
User: A user is a member of your team or staff. They have been added to your Signature account directly, in order to facilitate use, or they were imported from your channel manager account. Learn more about user signers in the help guide, What are users?
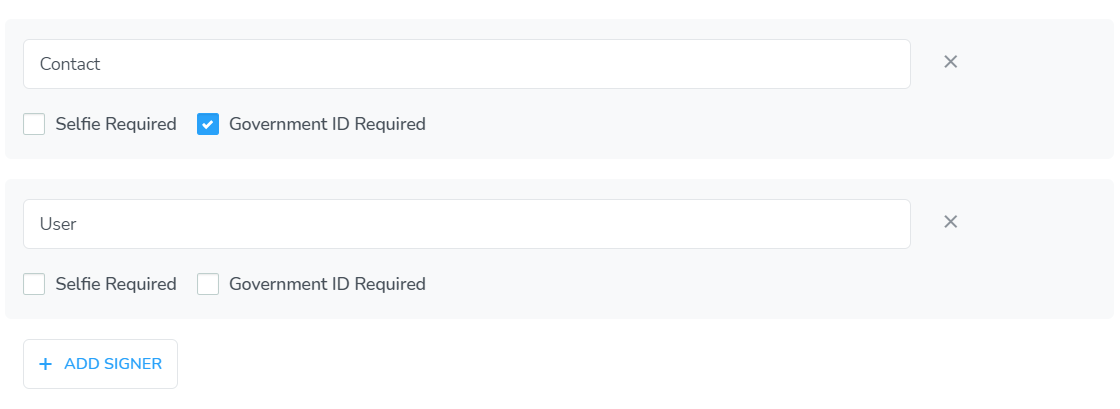
Once a signing role has been selected, you can specify if a government ID or a selfie is required to be submitted with the completed template. In the case of a selfie, the template will have to be completed using a mobile device. This is because a selfie must be taken with the camera on a signer's mobile phone. The signer will be alerted of this if they try to open the template using a non-mobile device. For the government ID requirement, signers can upload an image from their device, or take a photo of the required documentations. There is no device restriction for the government ID option.If more than one signer is required for the template, click the Add Signer button to add additional signers. For each new signer that is added, you must select a signing role. You may also specify selfie and government ID requirements independently for each signer. Learn more about requesting a photo ID in the help guide, How do I request photo identification?Once signers have been added, you may rename the signing role, in order to further customize your templates for a specific use. In our example, we have selected a Contact and a User as the signers of this template. We have opted not to rename the signing roles, in order to maintain maximum compatibility with automations.
Renaming the signing role will automatically convert that signing role into a contact type signer. This might limit your ability to use automations with the template, as automations only work with templates that have a single contact, a single user, or a contact and a user as signers.
Click the Next button when you are ready to proceed to the next step.
Prepare the template for signing
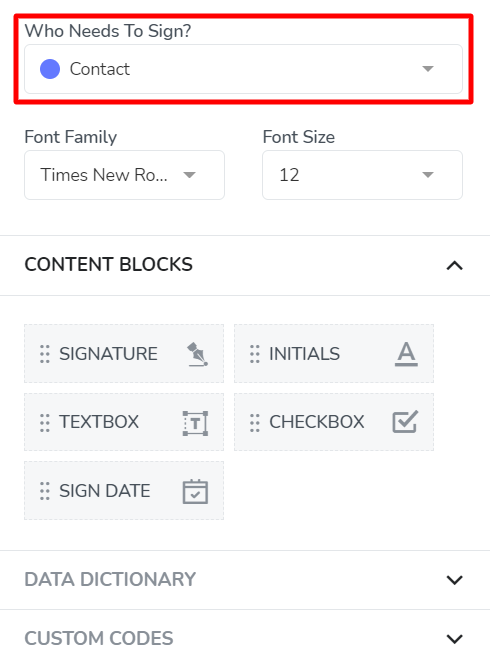
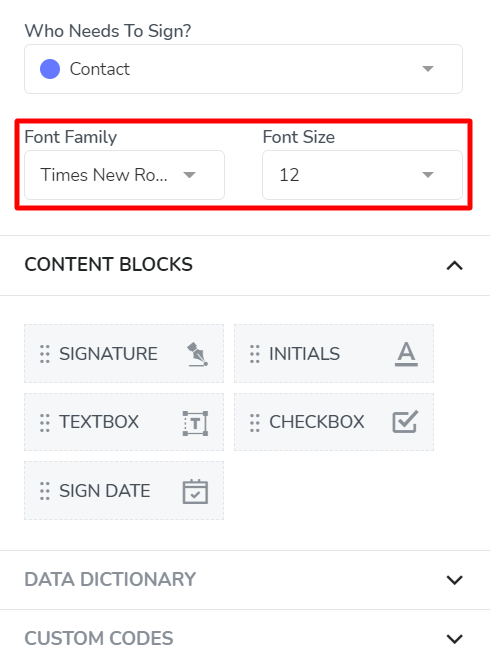
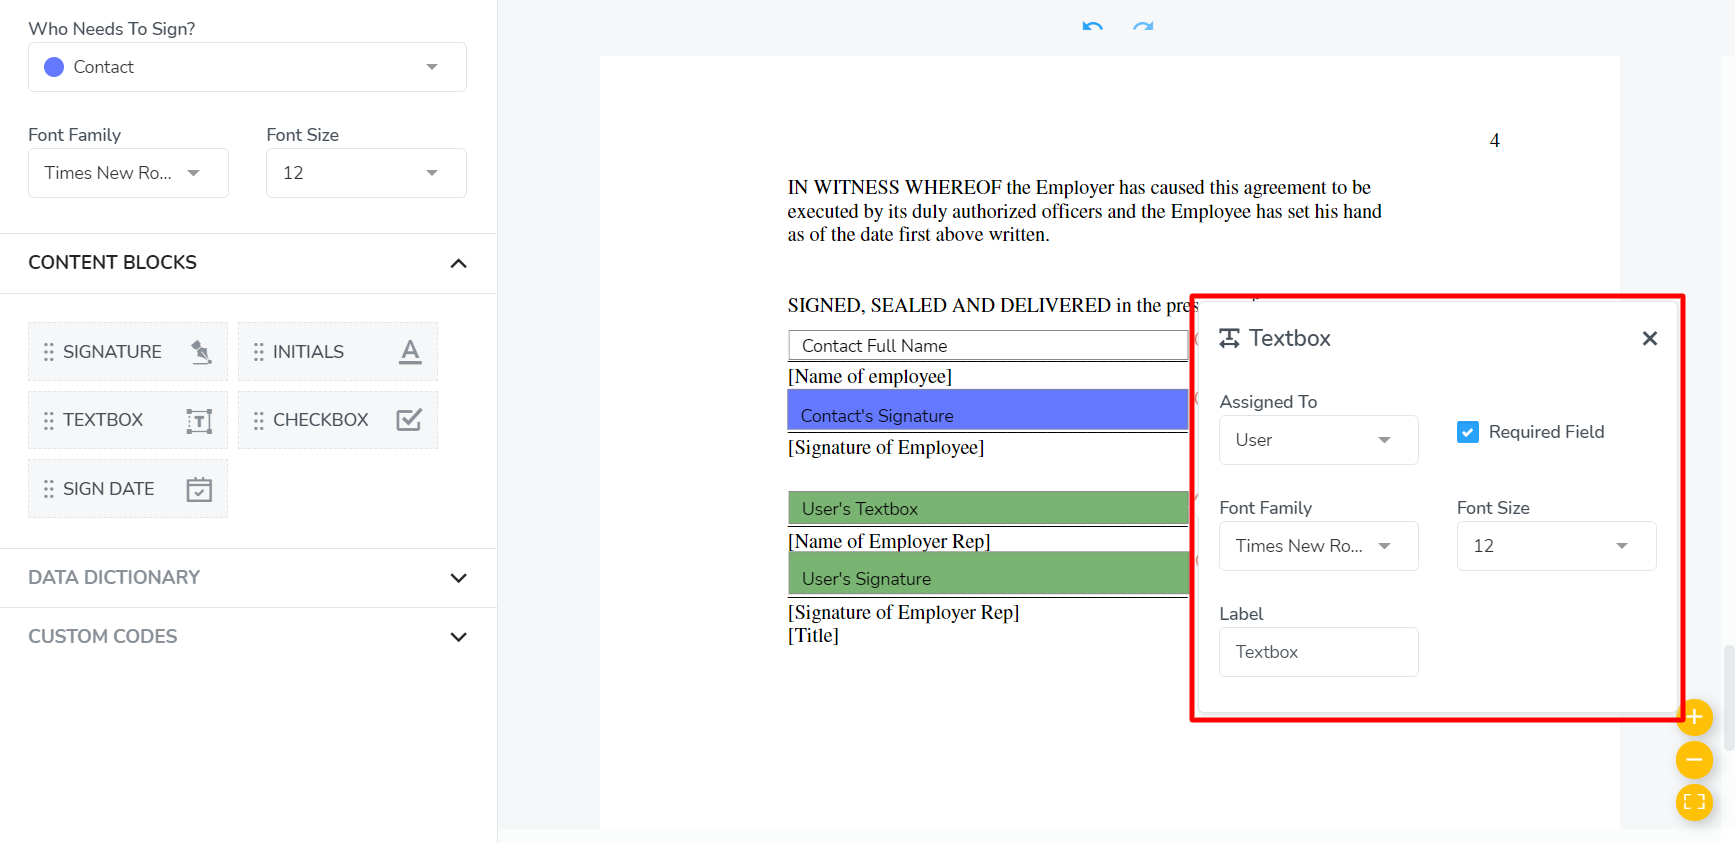
Now it is time to prepare your template for signing. This step is where content blocks and data fields will be inserted into the template, and assigned to their respective signers. By doing so, you will create an actionable template that can gather signature and other information, as well as displaying important data from your account.The sidebar contains the various items that can be inserted into the template. The first thing to do is to select which signer you want the selected fields to be assigned to. Don't worry, you can change the assigned signer on a field after it has been inserted into the template. However, using the signer selector in the sidebar will allow you to add multiple fields and content blocks all for the same signer, before moving on to the next signer's fields. In our example, we have started by selecting the Contact as the first signer that we will prepare for signing.There are font family and font size settings, that will allow you to allow you to match the data, from the fields that you are inserting, to the text contained in the template. The most popular fonts and sizes are available for your use. In our example, we have selected size 12 Times New Romans font, as this most-closely matches the text in the PDF that we used to create the template.Now, you are free to insert any content blocks or data fields that your template requires. You may click and drag the fields, or you can click on a field to select it, and then click on the template to insert the field. You can repeat the clicks to insert more copies of the field, before clicking back on the field in the sidebar to deselect it. In our example, we have selected the signature content block, in order to request a signature first from the contact, and then from the user.If you have inserted a data field that you wish to assign to a different signer, you can quickly change the assignment, as well as the font settings by clicking on the field in the template to open the properties menu. Here, you can also specify whether or not the field is required to be completed by the signer, and you can also edit the label that appears on any text fields. In our example, we have assigned the textbox and signature fields at the bottom of the template to the user signer. This lines up correctly with the text in the PDF that we used for the template.To see what your template might look like with sample data entered into the data fields, click the Preview button. The preview feature will use sample data provided by Signature to populate the various data fields. Learn more about previewing templates in the help guide, How do I preview a template?
Some content may differ in length when previewed from what it will look like when sent from your account, due to the preview using sample data provided by Signature.
When your template is prepared for signing by all signers, it is time to click the Next button when you are ready to proceed to the final step.
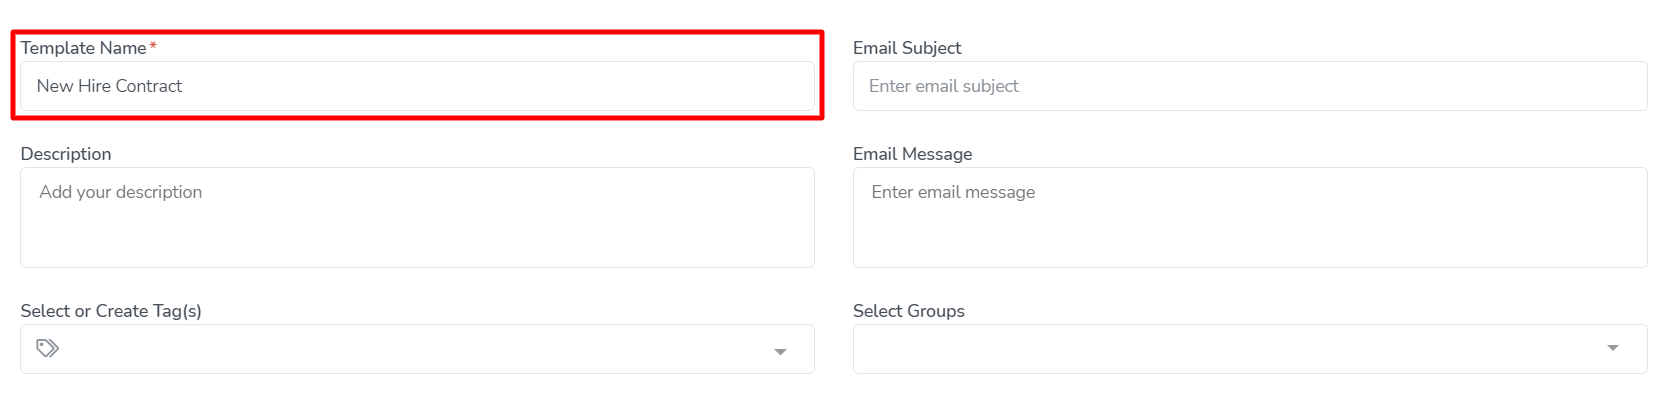
Give the template a name and description
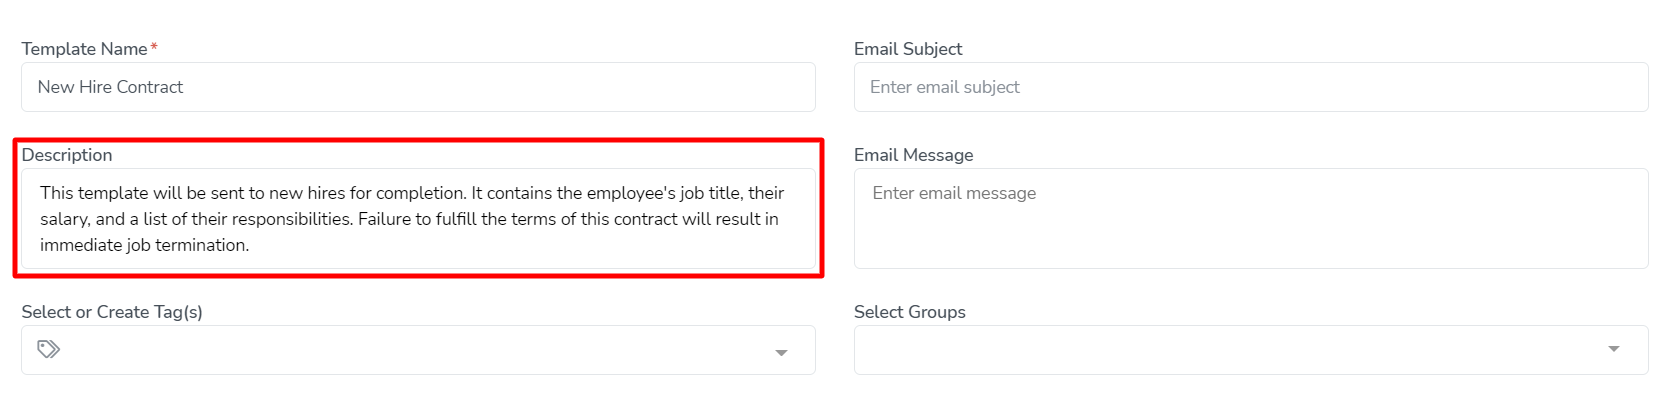
Before saving your template, it is necessary to give it a name. The name of the template can be anything you want it to be, but it is recommended to use a name that provides you with proper context for the purpose of the template. The signer(s) will see this template name in the signature request email. In our example, we have given the template the name "New Hire Contract". This name will allow any other users of the account to quickly recognize the purpose of this template.A contextual template name can be supplemented with a detailed description of how the template is supposed to be used. This field is optional, but helps to provide users of your account with a complete understanding of each template that has been created. The signer(s) will not see this description. In our example, we have added a detailed description explaining the contents and purpose of this template. This description will allow any other users of the account to quickly recognize the purpose of this template.
Customize the email header and message body (Optional)
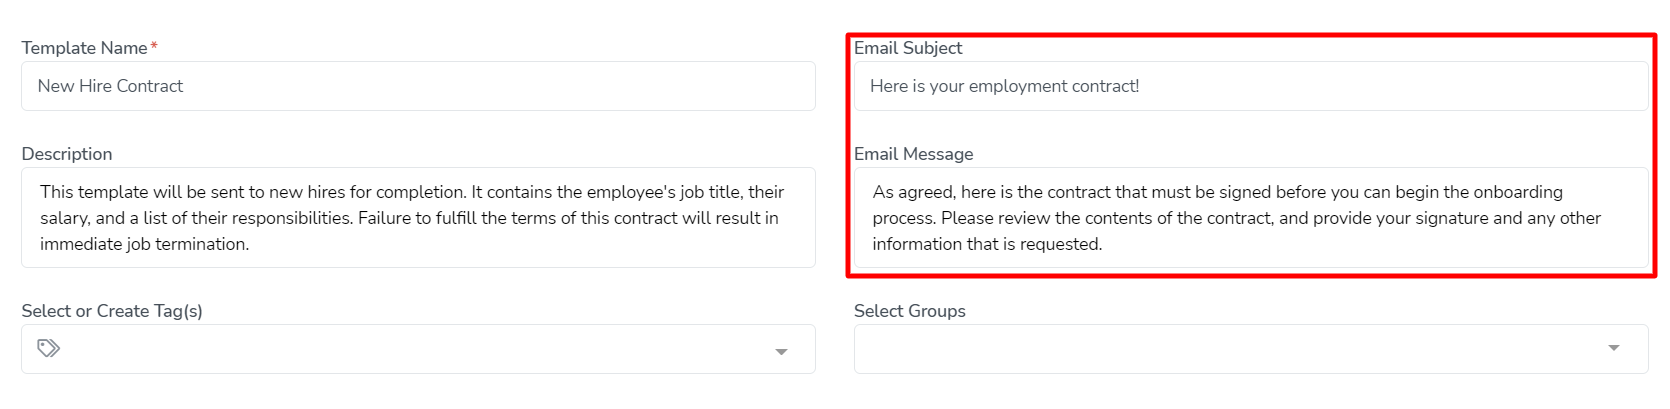
The email subject header and email message body can also be edited in this step. The subject and message will appear in the email that the template will be sent in. These fields can provide your signers with information on what the document they are about to sign contains, as well as instructions on how they should complete the template. In our example, we have added a contextual subject header, that will allow the signer to easily recognize our contract in their email inbox. The message body contains instructions for the signer to follow. This will make it easier for the signer to sign and submit the contract in a timely manner.
Assign template tags and/or groups to the template (Optional)
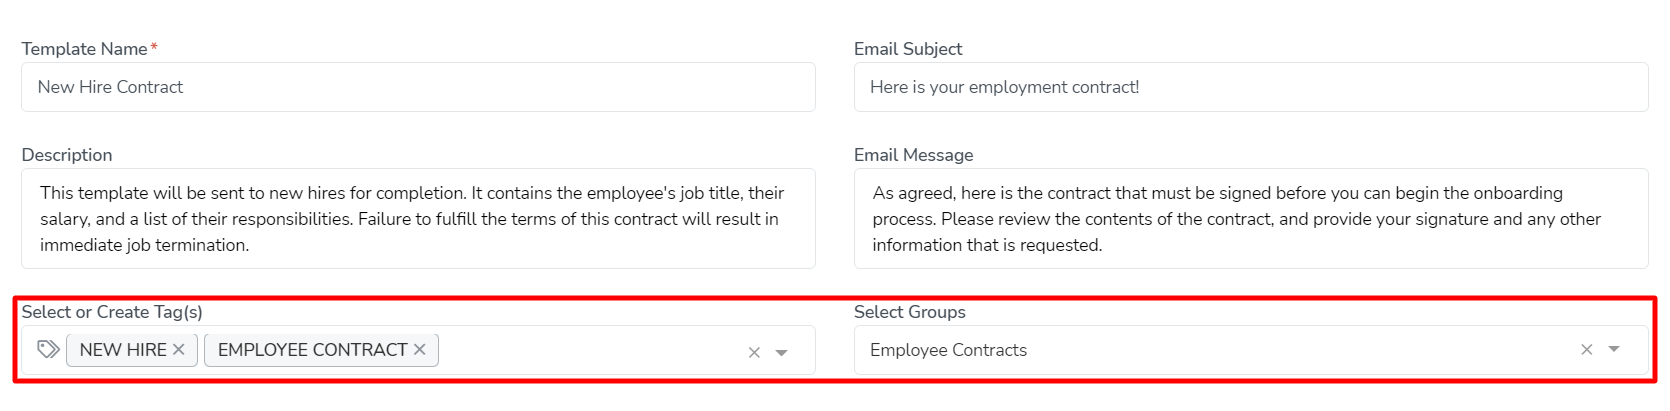
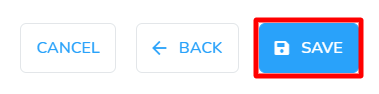
Template tags and template groups can also be assigned during this step. These will allow you to more easily filter and organize your templates on the Templates and Inbox pages. Learn more about managing tags in the help guide, What are tags? Learn more about managing groups in the help guide, What are groups? In our example, we have assigned the tags "New Hire" and "Employee Contract" to this template. These tags allow easy filtering of the Templates and Inbox pages. In addition to that, we have assigned the group "Employee Contracts" to this template. This allows us to view all templates assigned to this same group in the Templates page. Groups and tags have similar functionality, but tags will allow you to filter templates that are in the same group.When you are finished editing the settings in this step, it is time to save your template. Click the Save button to finish the wizard, and save your template.
As always, we're here to help. Please feel free to email support@tokeet.com with any questions.
 Updated


 Some content may differ in length when previewed from what it will look like when sent from your account, due to the preview using sample data provided by Signature.