Automata Workflows
Automata workflows allow you to organize triggers in a pre-defined sequence. You can create, view, and edit each individual trigger in order to customize your messaging for each rental and its connected channels.
- Navigate to Workflows

Here, you can use filters to sort and search through your workflows, as well as edit or remove triggers.
- Click on a workflow in the table to open the workflow detail overlay.
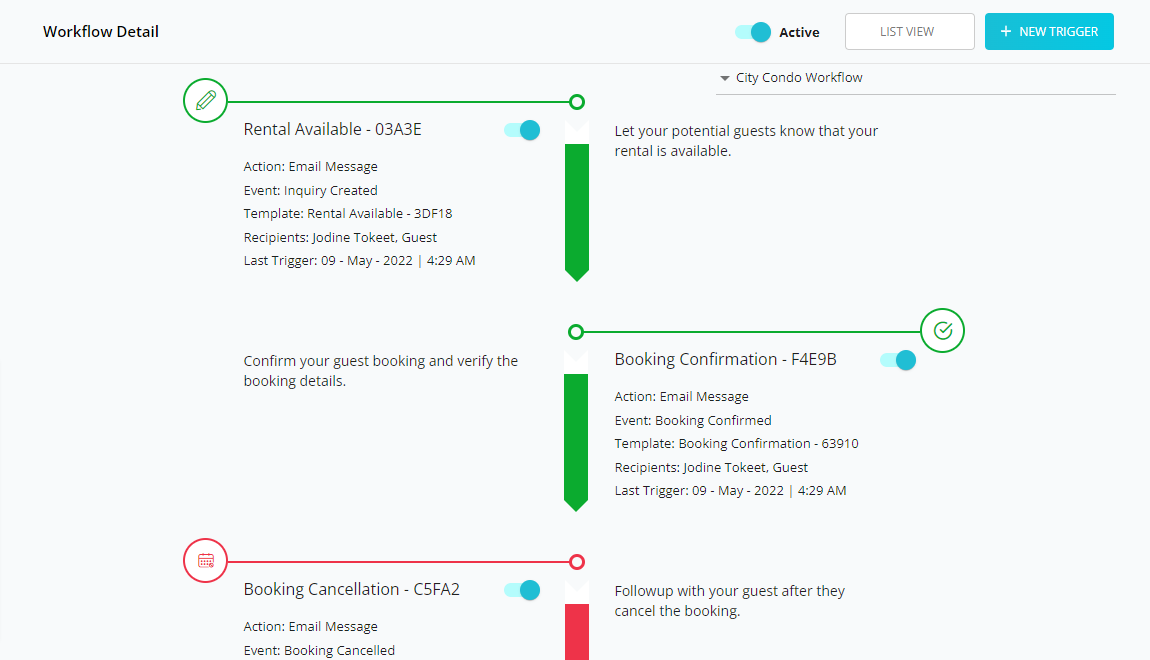
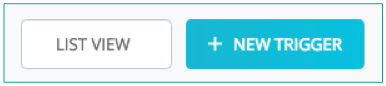
- Here you can switch between the graphical "Flow View", or the tabular "List View".
- You can also see the activity of the triggers in the workflow, and remove or edit individual triggers.
- All the triggers for the workflow can also be deactivated and reactivated at once using the master toggle at the top of the overlay.

NOTE: If you edit a trigger from this overlay, the changes will take effect in all workflows that the trigger is associated with.
- You can edit the columns in the table by clicking the custom column button (three lines) in the column header.

- You can change the sort order of the table by clicking on any of the column names.
- Create new workflow via the "New" button in the upper right-hand corner.
- Workflows can be created from blank (include existing triggers), or from a sample (pre-built) workflow.
- You can adjust how many workflows are shown per page by changing the page settings at the bottom of the table.
As always, please contact us with questions any time. We're happy to help.