Custom codes allow you to quickly and easily add custom information to your templates and documents. These custom codes can be general purpose, or if you are using Signature with Tokeet, then your custom codes can be rental-specific. Below, you will find a step-by-step tutorial for creating a new custom code. This is just an example, so you are encouraged to get creative with your own use of custom codes.
Here are some key steps you should perform when creating a new custom code:
Click the Add Custom Code button
The Add Custom Code button is located in the top-right corner of the custom codes table. Click here to open the Create Custom Code overlay.
Give the custom code a name
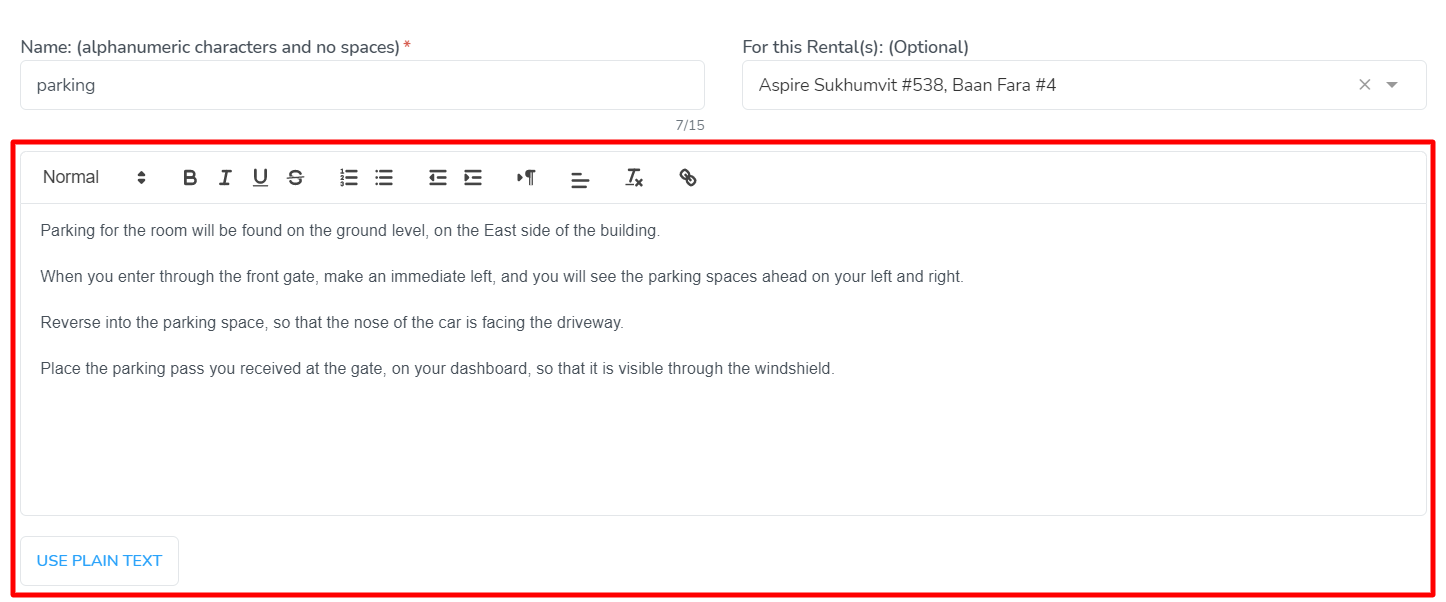
A custom code is required to have a name. This name will be visible in the editor, when you insert the custom code into the template or document. The name of the custom code can be anything you want it to be, but it is recommended to use a name that provides you with proper context for the purpose of the custom code. The only restrictions are that the name must be no longer than fifteen characters long, and it can only contain letter and/or numbers. No spaces or special characters are allowed. In our example, we have given the custom code the name "parking". This custom code will be used to insert parking instructions into our templates.This name will allow any other users of the account to quickly recognize the purpose of this custom code.
Assign rentals to the custom code (Optional)
One way to simplify the template creation process is to have a single custom code that can work with multiple rentals. Using the rental selector, you can insert different custom fields into the same template, depending on which rental the signer is staying in. This can be used to tailor the messaging in your templates to a specific rental, without having to create an entirely new template. In our example, we have selected two rentals for this custom code. Later, we will be able to add another version of this same custom code, with different parking instructions for the remaining rentals in the group. This will provide the signer with the correct parking instructions, regardless of which rental has been booked.
This step is only available for users with an active Tokeet channel manager subscription. If no channel manager integration is found, custom codes can not be assigned to specific rentals.
Edit the body of the custom code
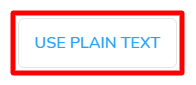
Now it is time to enter the custom information that will be inserted into your template through this custom code. The contents of the custom code can be anything you want it to be. The only restriction is that the custom code can only contain text. There are no images allowed in custom codes. When the template is sent, the custom code will be inserted into the template with the formatting preserved as seen in the custom code editor.At the top of the custom code editor is a toolbar, that allows for rich text markups. Please be advised that markups should only be performed when appropriate for the placement of the text into the template. You want the text to blend into the underlying template as seamlessly as possible.At the bottom of the custom code editor is a Plain Text/Rich Text button. This will allow you to switch between rich text and plain text editing modes. In plain text mode, you are able to edit the HTML of the text that will be inserted by the custom code. Advanced HTML code is not supported. In our example, we have added parking instructions into the custom code body. These instructions will direct the signer to the parking space for the two rentals selected earlier. When we add a second version of this custom code later, we will enter a different set of parking instructions into this field.
Give the custom code a description (Optional)
A contextual custom code name can be supplemented with a detailed description of how the custom code is supposed to be used. This field is optional, but helps to provide users of your account with a complete understanding of each custom code that has been created. The signer(s) will not see this field. In our example, we have added a detailed description explaining the contents and purpose of this custom code. This description will allow any other users of the account to quickly recognize the purpose of this custom code.
Assign custom code tags to the custom code (Optional)
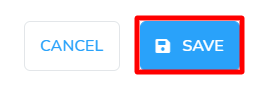
Custom code tags can also be assigned to the custom code. These will allow you to more easily filter and organize your custom codes on the Custom Codes page. Learn more about managing tags in the help guide, What are tags? In our example, we have assigned the tags "Parking" and "Directions" to this custom code. These tags allow easy filtering of the Custom Codes page.When you are finished editing the settings, it is time to save your custom code. Click the Save button to finish the wizard, and save your custom code.
Additional versions of this custom code can be created, in order to allow different custom fields to be inserted into a sent template, depending on the rental that the signer is associated with. To do this, you need to edit the custom code after it has been saved. Learn more about editing existing custom codes in the help guide, How do I edit an existing custom code?
As always, we're here to help. Please feel free to email support@tokeet.com with any questions.


 Additional versions of this custom code can be created, in order to allow different custom fields to be inserted into a sent template, depending on the rental that the signer is associated with. To do this, you need to edit the custom code after it has been saved. Learn more about editing existing custom codes in the help guide, How do I edit an existing custom code?