Tokeet Booking Engines
Tokeet booking engines can power a booking widget you implement on your non-Tokeet website, or you can link directly to booking engine pages from your site.
You can utilize Tokeet's booking engine domains like booksafely.com, or utilize your own domain by following a few simple configuration changes in the second part of this article.
Before you create a booking engine, make sure to add the Stripe Payment Gateway.
Create Booking Engine with Tokeet domains
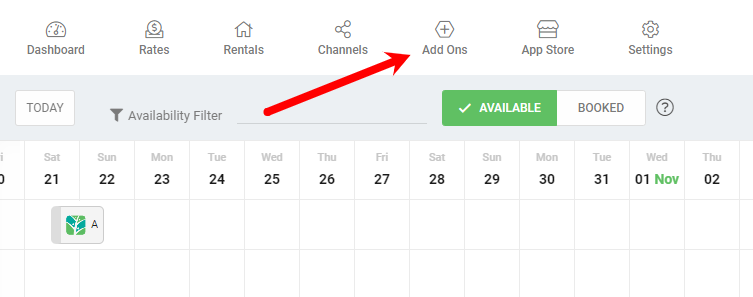
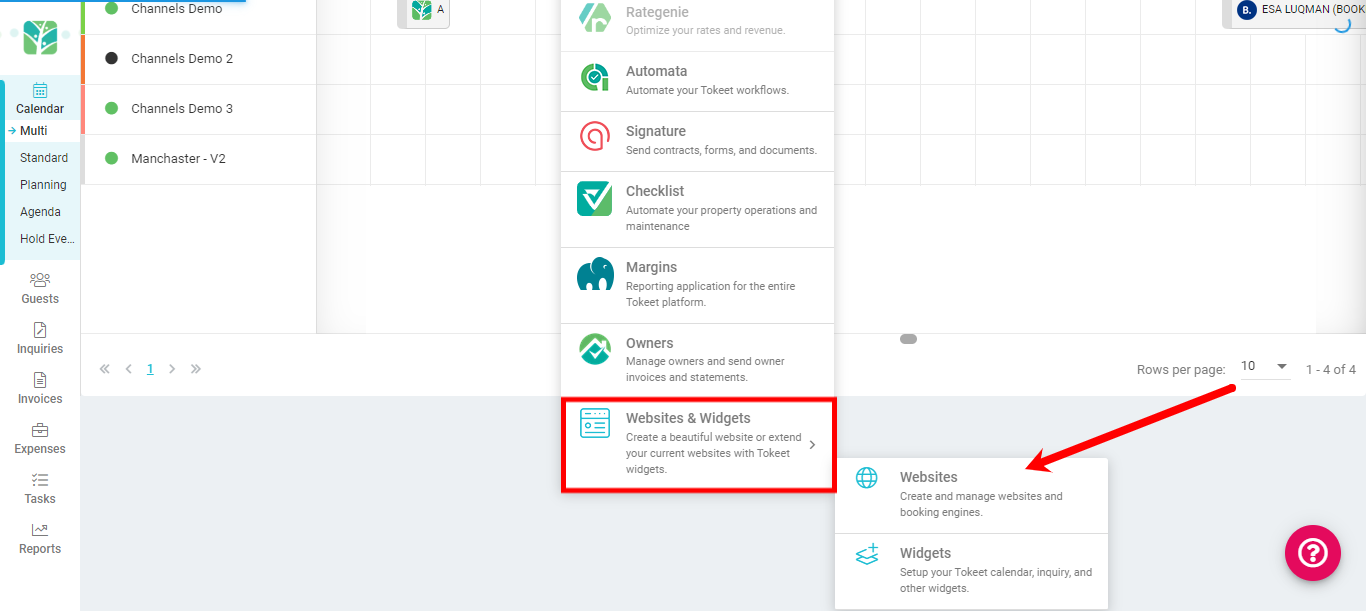
- Navigate to Add Ons and select Websites & Widgets
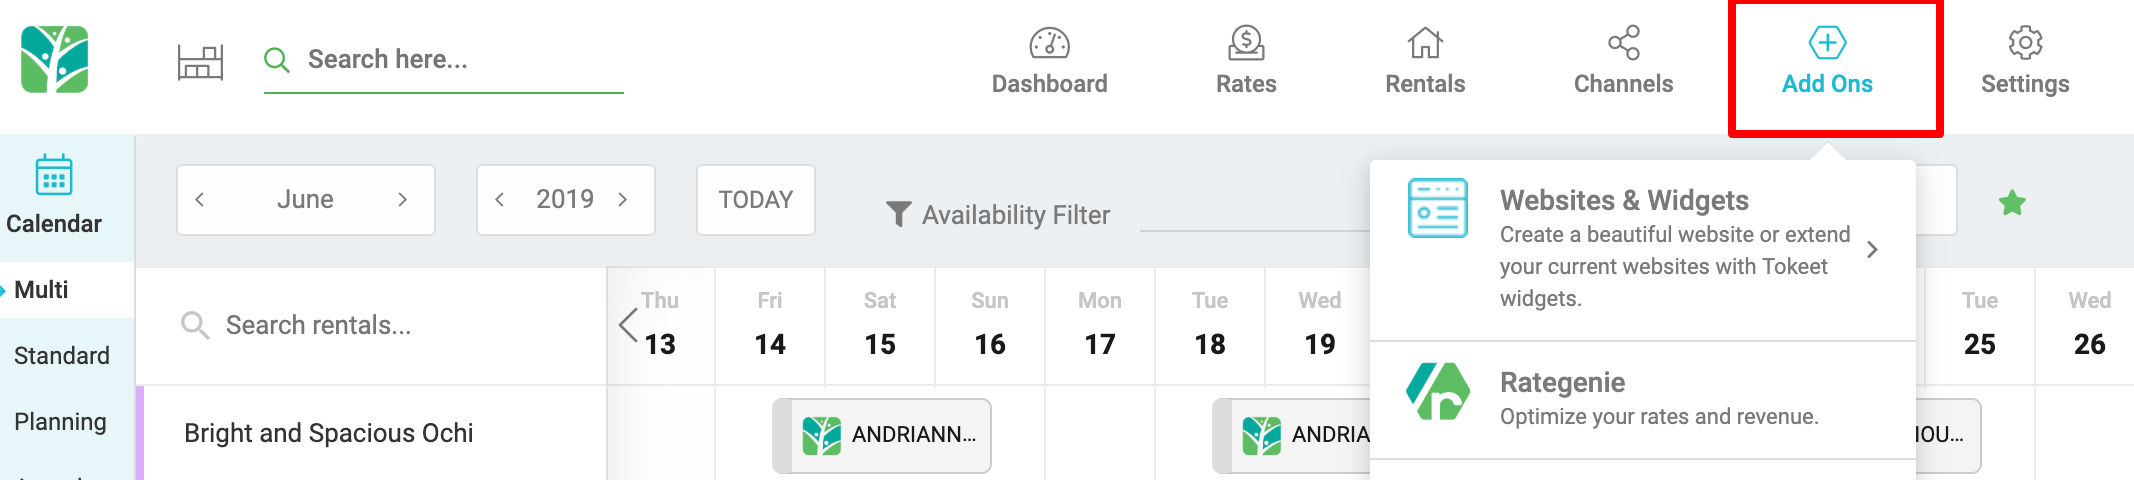
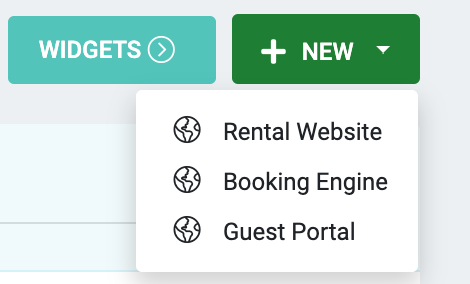
- Click on +New and select Booking Engine
- Complete required info:
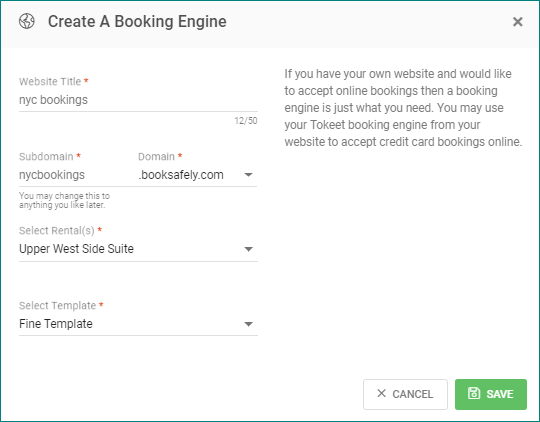
- Booking Engine Title (name)
- Subdomain
- Select Tokeet domain
- Select Tokeet Rental(s)
- Select Template (any)
- Click "Save"
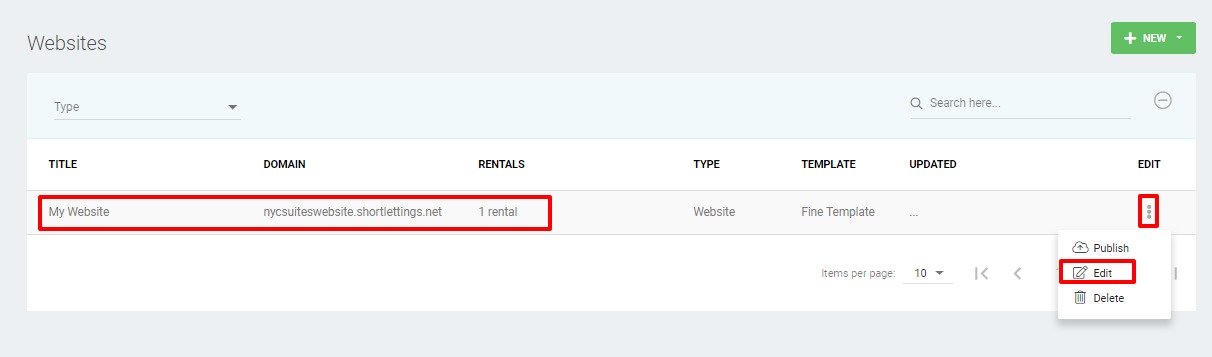
- Click into your newly created booking engine or choose edit from the edit menu (3 dots) to complete a few final steps.
- On the subsequent Booking Engine Details overlay, select the Rate Category used by your Booking Engine.
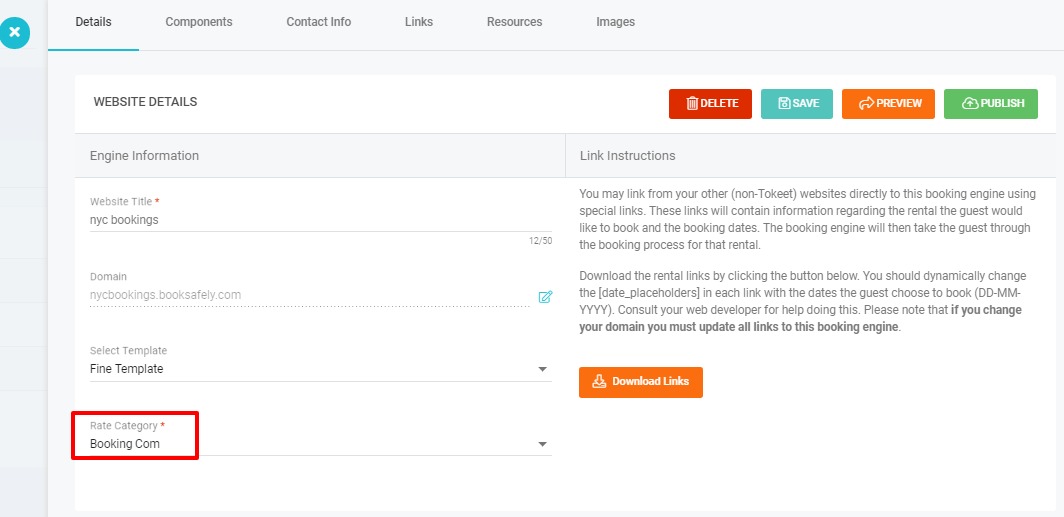
- Click "Save" and "Publish"
- That's it! Your booking engine is now live and can be used in a Tokeet booking widget.
Tip: You can link directly to booking engine pages by clicking the orange "Download Links" button. This is an alternative to utilizing Tokeet booking widgets and you can simply connect them directly to any buttons you create on your personal website. Here's a sample booking engine URL:https://secure.booksafely.com/checkout?rental_id=540e59fb-2c90-4124-8dba-90693162ecd2&website=aab21a1f-5f56-43cc-bdb2-6c0a7b5150e9
Create Booking Engine with your own domain
- Create a Booking Engine using the Tokeet provided free domain option. (This will be a placeholder) Refer to the steps above for creating a Booking Engine.
- Click into your newly created booking engine or choose edit from the edit menu (3 dots) to complete a few final steps.

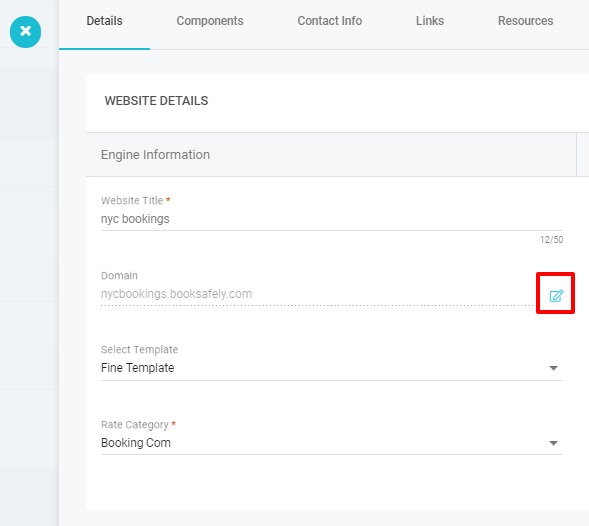
- Click on the edit icon next to your booking engine domain.
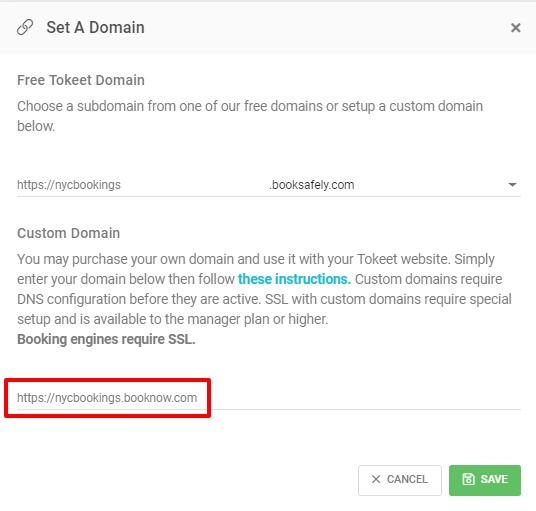
- Enter your custom domain into the field marked "Specify a custom domain" and click Save
- You must now make a few DNS changes to point your website to the Tokeet booking engine.
DNS Configuration
- Log into your domain registrar's website and locate the DNS (Domain Name System) settings for your domain.
- Create a new CNAME record pointing www.your-domain.com to
engines.tokeet.com - Create or update your A record to point to 44.196.163.58. Note that Tokeet will redirect any request for your-domain.com to www.your-domain.com.
Note: Subdomains are not supported for the booking engine.
Secure Custom Domains
To secure the custom domain for your booking engine, click on Add Ons in the top navigation bar then on Websites.
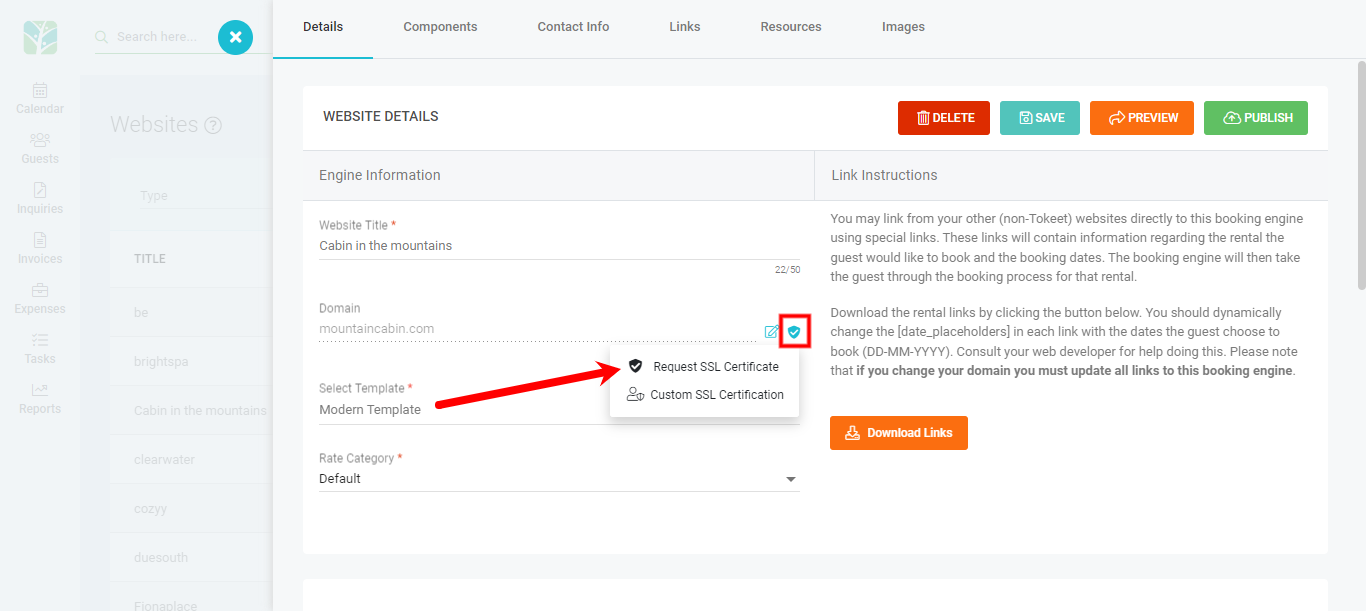
Next, click on your Booking Engine, on the SSL icon next to it then finally the Request SSL Certificate icon:
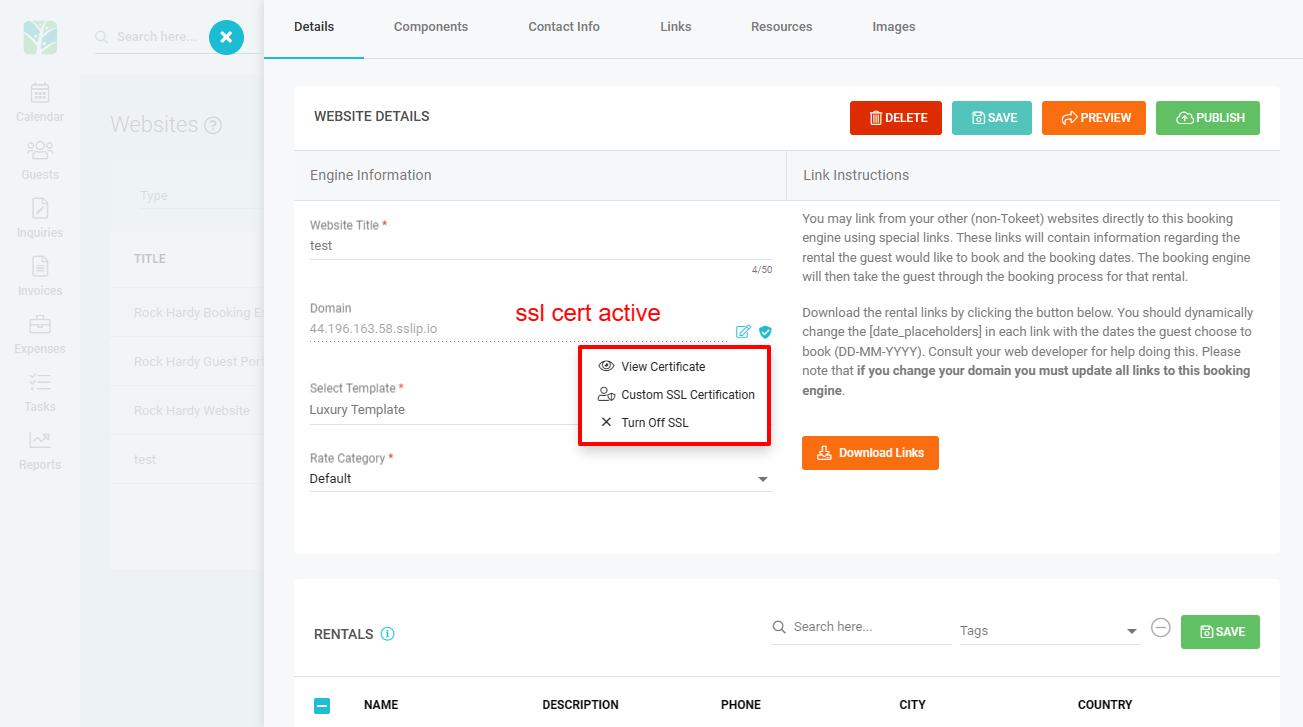
Note: It may take up to 2 hours for your SSL certificate to become active. Be sure that your DNS settings have first been updated to point to the IP address above.
Once the certificate is active, you will see the options to View Certificate and Turn Off SSL.
As always, please contact us with questions any time. We're happy to help.