Tokeet Triggers Overview

Triggers, or Automations, are a key benefit of Tokeet. A trigger is an instruction to Tokeet to perform a particular action when an event occurs. For example, triggers can be used to notify you and your guests via email or SMS when a new booking is received. Tokeet currently does not automatically send email when events occur, so we recommend setting up triggers in order to receive account notifications.
Before creating a trigger, you need to build a Message Template. Triggers require message templates to work.
Triggers are extremely powerful, and are easy to create in Tokeet.
Triggers are extremely powerful, and are easy to create in Tokeet.
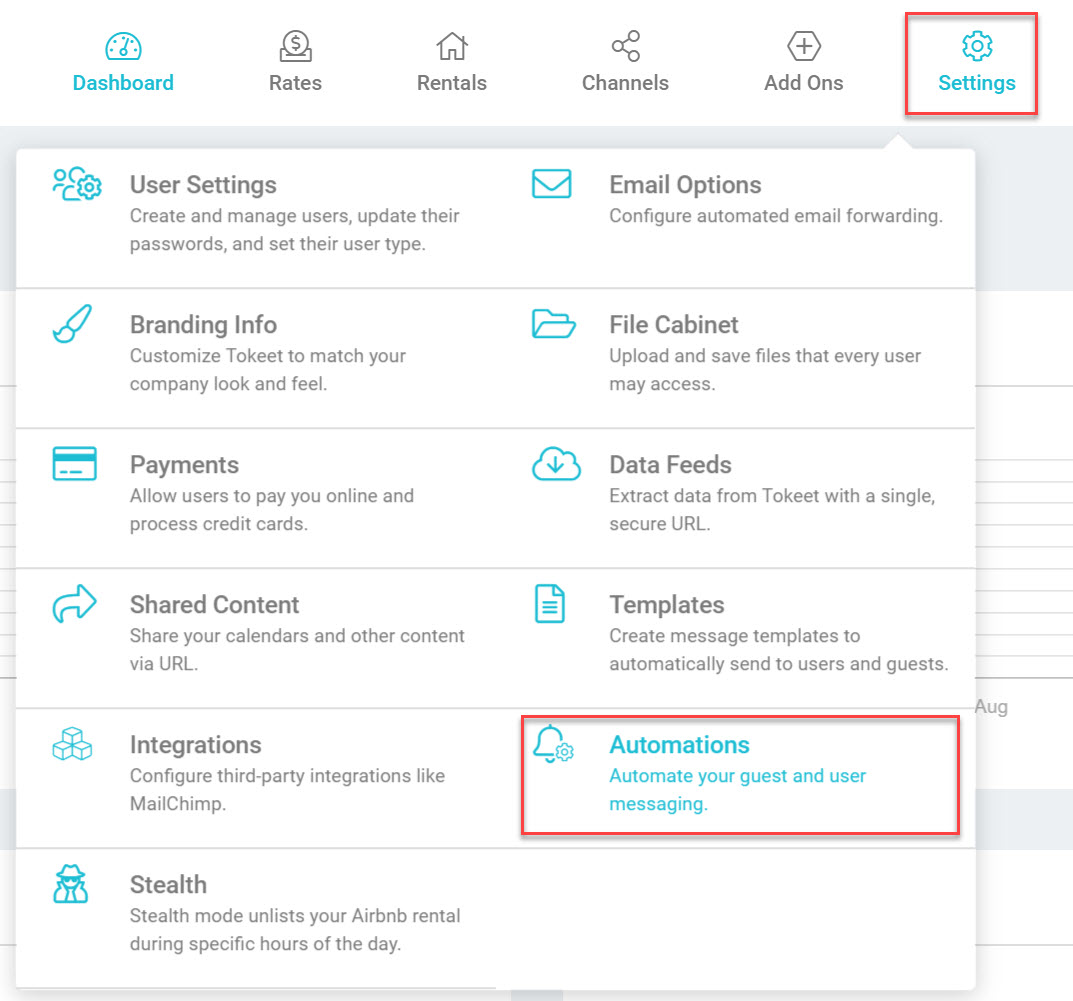
- Navigate to Settings > Automations
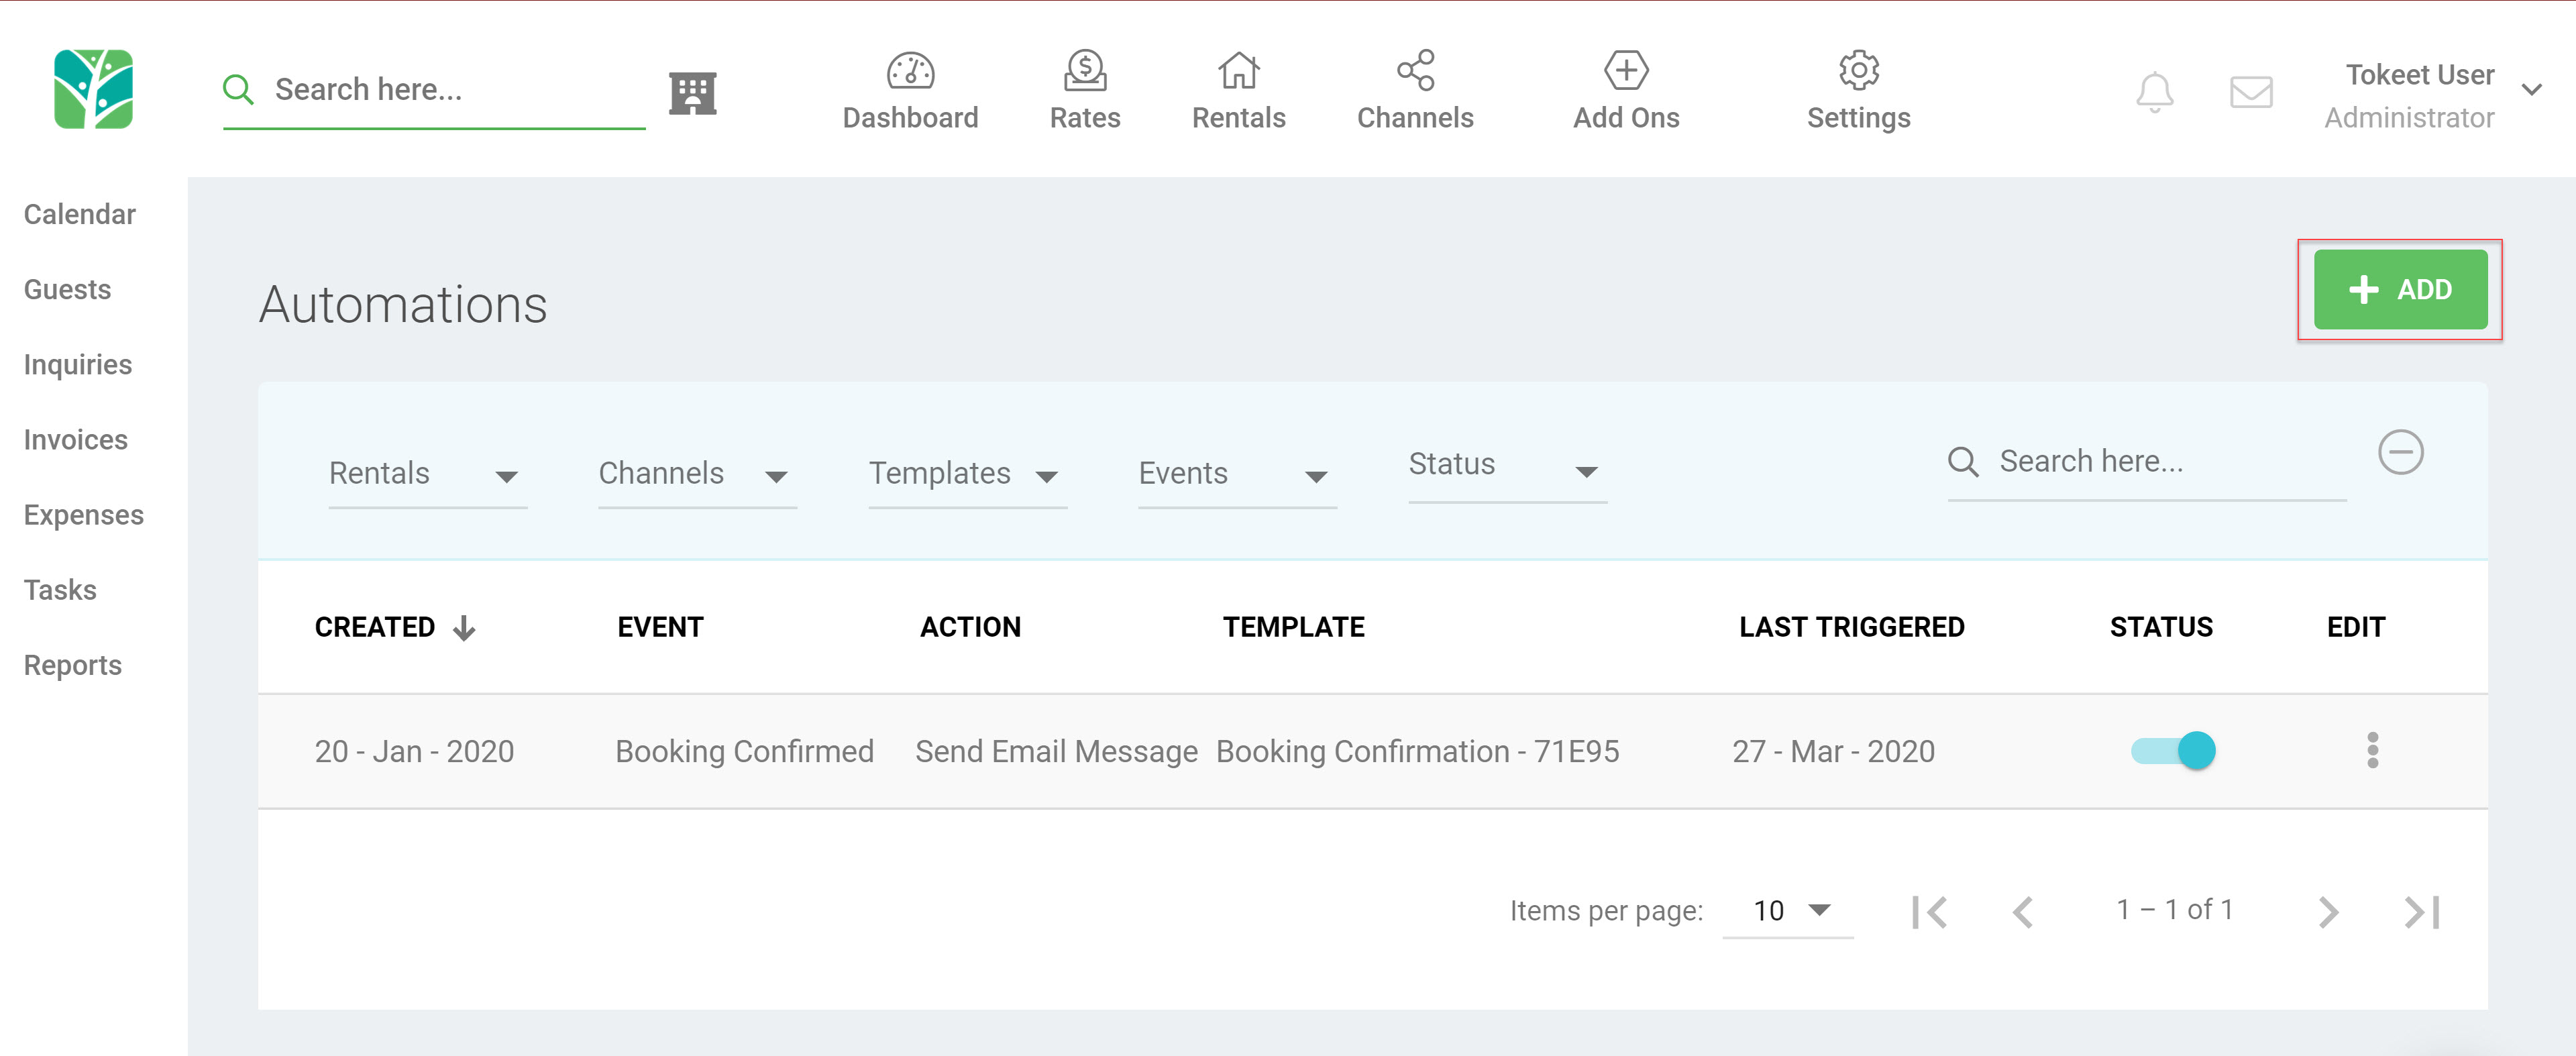
- Click "Add" to build a new trigger.
- Complete required fields
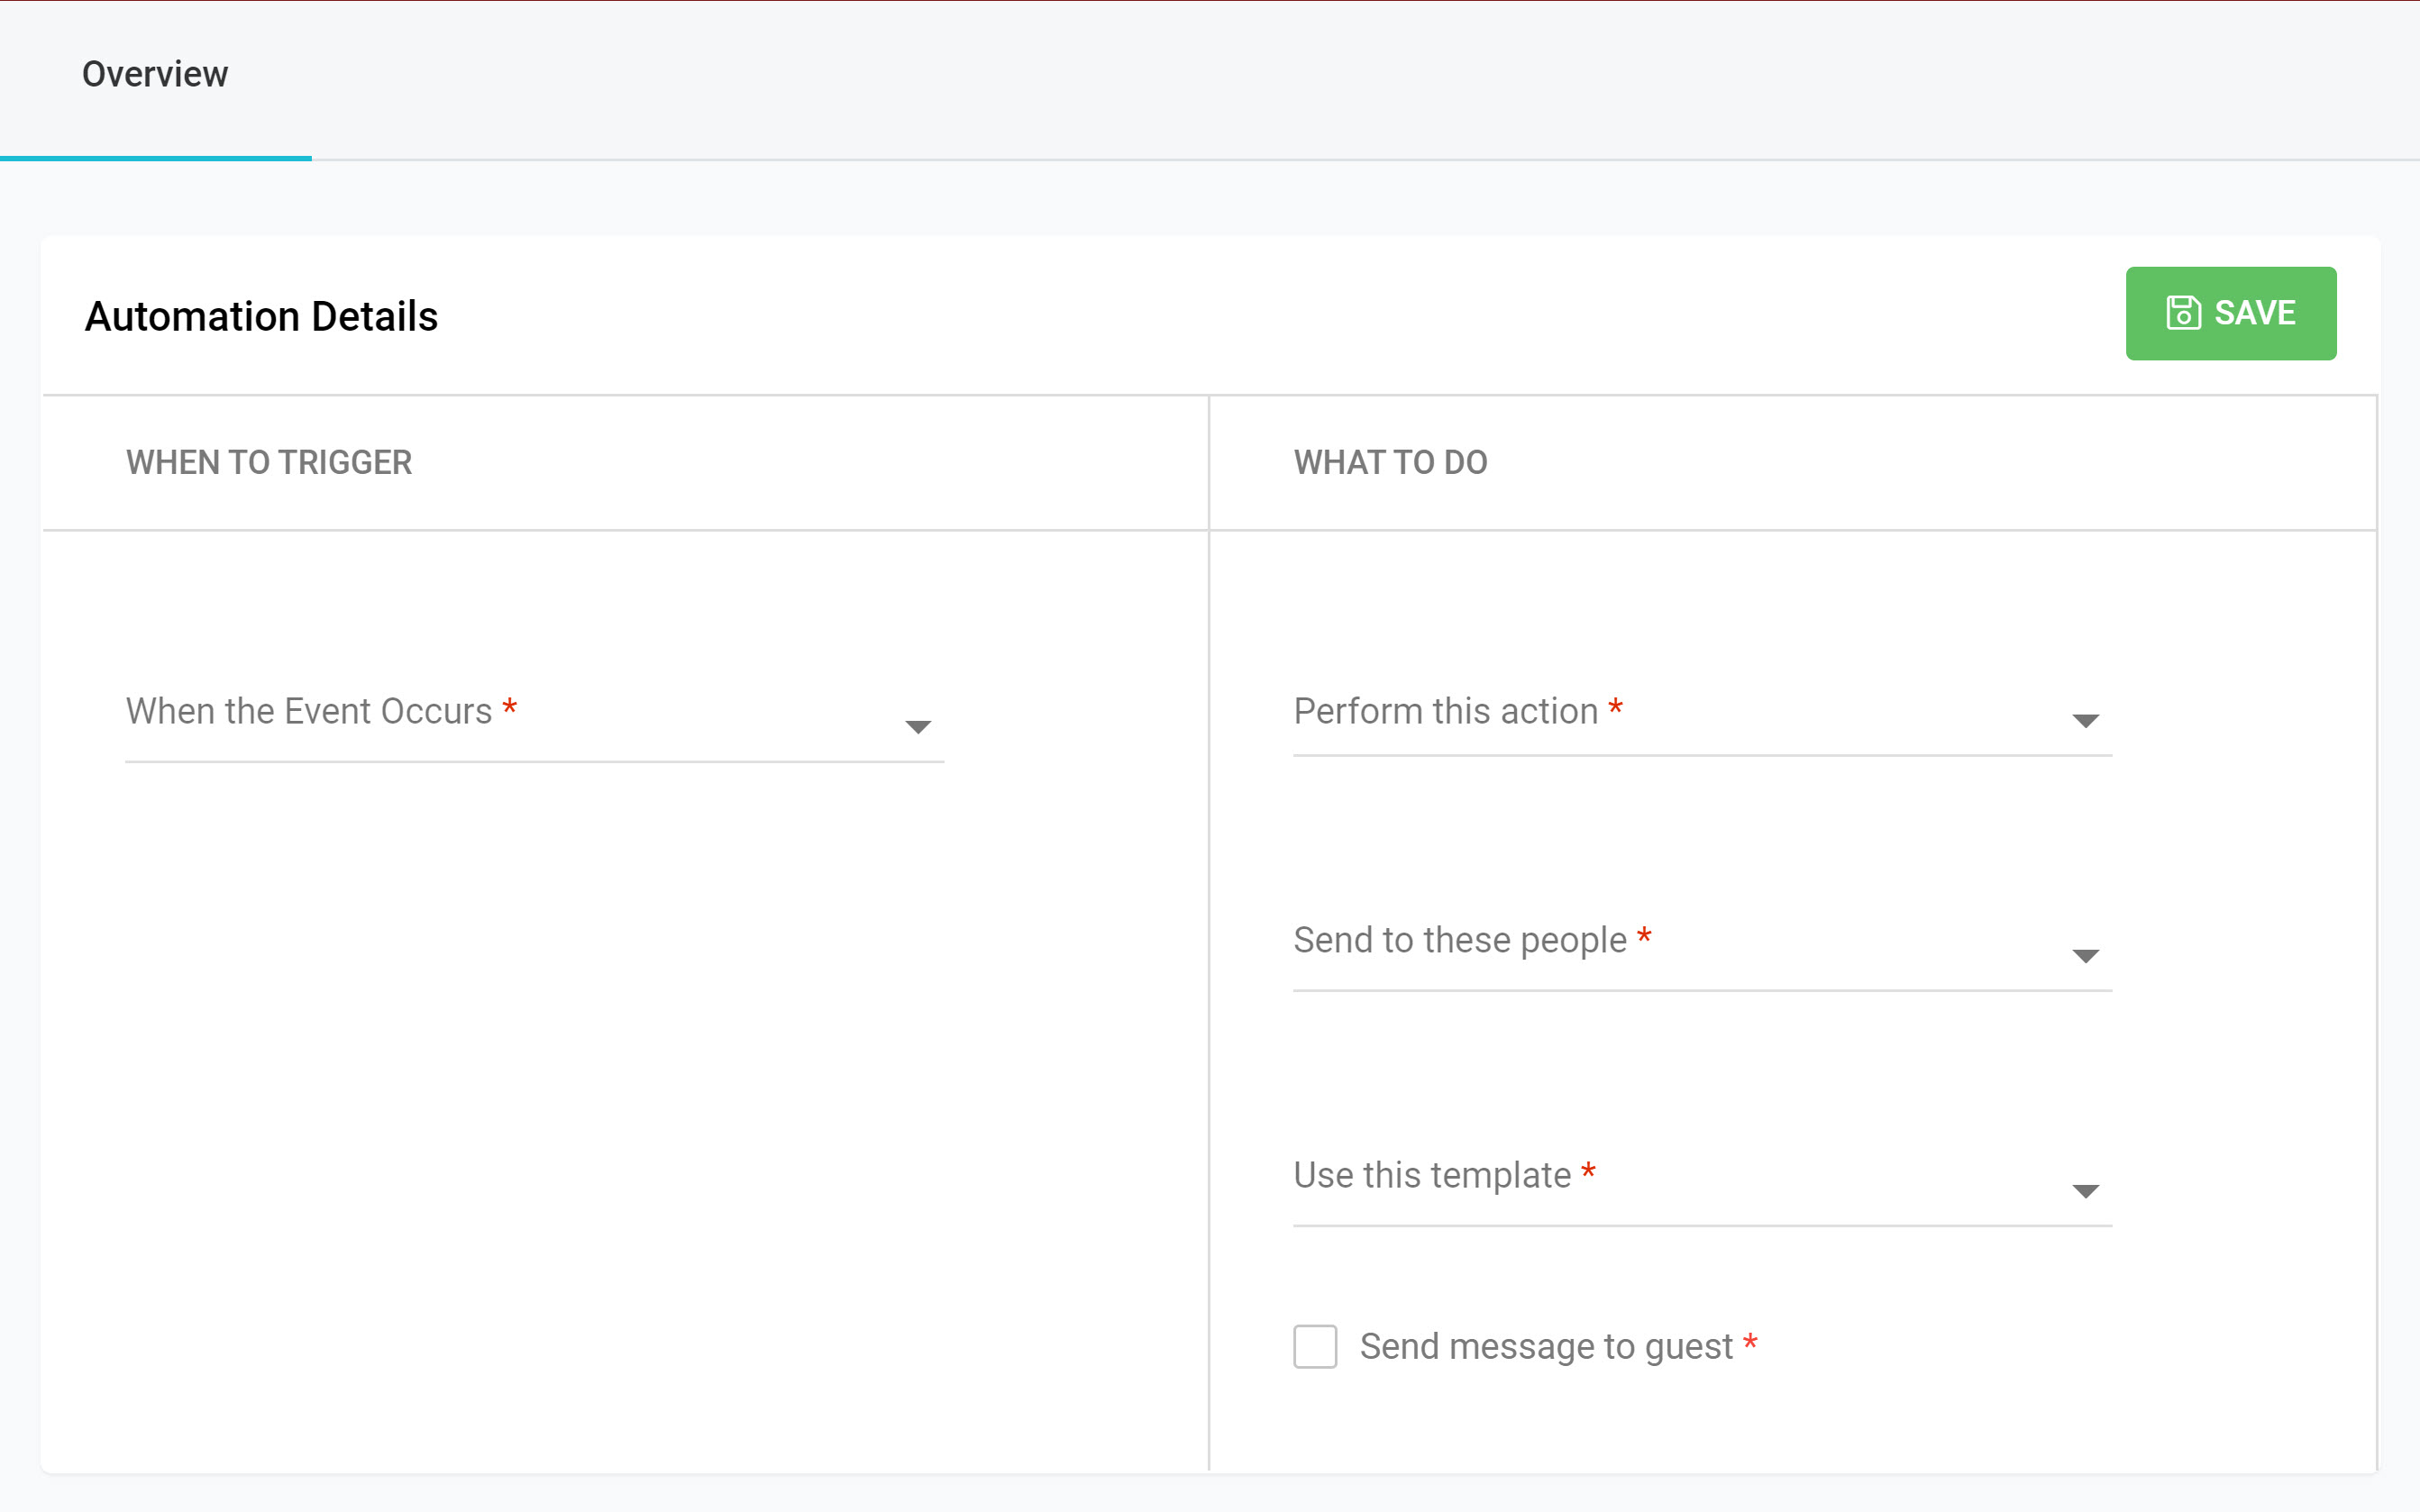
- Choose an event sub-type and choose which action to perform when the event occurs. The options for this are described below:
- Booking Cancelled: Booking cancelled via dashboard or connected API channel.
- Booking Confirmed: Booking confirmed via dashboard or connected API channel.
- Card Accepted: Credit Card info submitted to Stripe has been accepted.
- Card Declined: Credit Card has been declined after Stripe attempts processing.
- Card Deleted: Credit Card has been deleted from Stripe.
- Card Rejected: Credit Card info submitted to Stripe has been rejected .
- Channel Disabled: inform your internal team that a channel connection is disabled, and that action needs to be taken by your team in Tokeet.
- Contract Rejected: A Signature Contract has been rejected.
- Contract Sent: A Signature Contract has been sent.
- Contract Signed: A Signature Contract has been siigned.
- Contract Viewed: A Signature Contract has been viewed.
- Guest Created: Guest is created either via the dashboard, from a Tokeet website or widget, or from a channel connection.
- Guest Deleted: Guest is deleted from the dashboard.
- Guest Message: Message is received from a guest
- Guest Updated: Guest is updated via the dashboard or a channel connection.
- Inquiry Created: Inquiry is created via the dashboard, a Tokeet website or widget, or an API channel connection.
- Invoice Cancelled: Any Tokeet invoice is marked as cancelled.
- Invoice Created: Invoice created on any Tokeet inquiry.
- Invoice Paid: Invoice status changes to paid on any Tokeet invoice.
- Select which Channel(s) you would like these triggers to fire for. Leaving this blank will fire for all channels.

- Select which rental(s) you would like these triggers to fire for. Leaving blank will fire for all rentals.
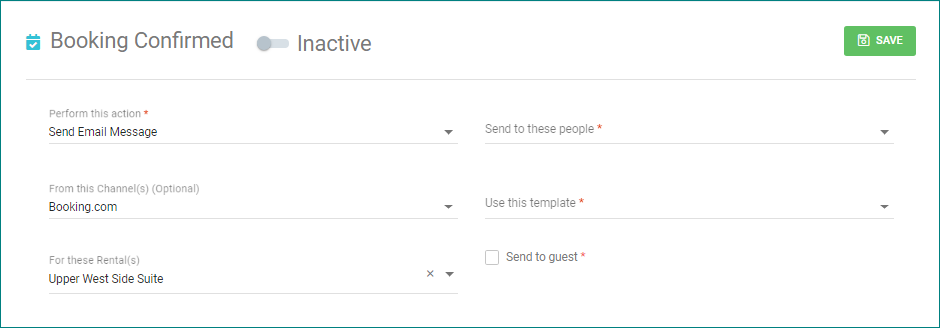
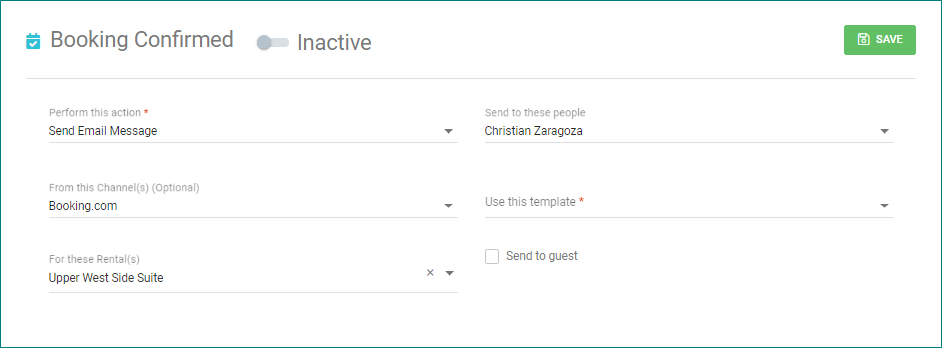
- Select which internal users to send the message to. At least 1 internal Tokeet user must be selected.
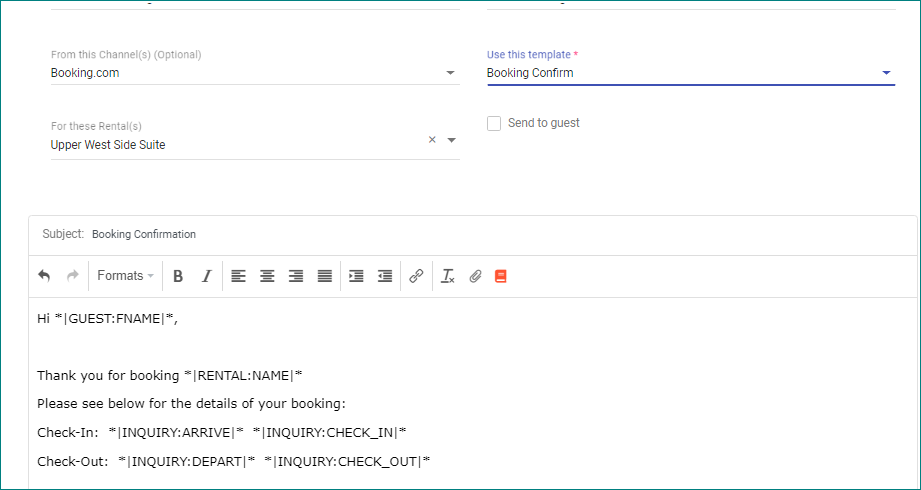
- Select the template to use for this trigger. For information on making templates please see the following article: Message Templates
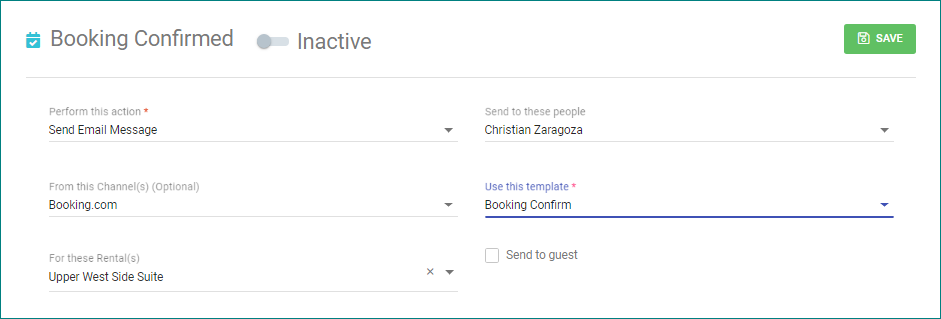
- You can also create a template right here in the Automations module by typing it directly in the template editor below your trigger configuration.
- Choose whether to Send to Guest or leave unchecked. Triggers meant for only communication to staff should leave this option unchecked.

- Save your trigger.

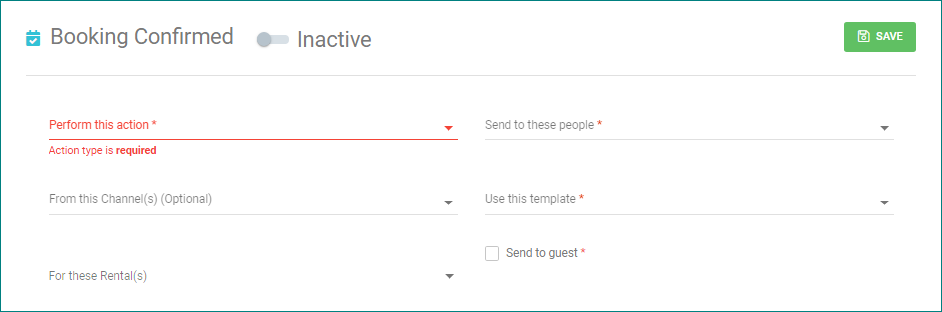
- Set your trigger to active so that automatic messages are sent when the event you've chosen occurs.
