Within your Tokeet account, you might wish to add users so that they can have access to your account and handle individual tasks. Additional Tokeet users can be specified as having certain duties and responsibilities, or areas of expertise. You can use this feature to give your entire team, from maintenance employees to management individuals, access to your account for editing, viewing or sending messages to guests and potential guests. Tokeet makes adding users and updating their information along the way simple and easy.
Adding A New User:
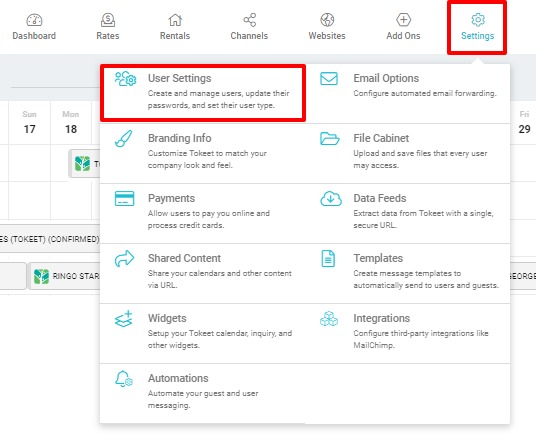
Select "User Settings" under the Settings Menu.
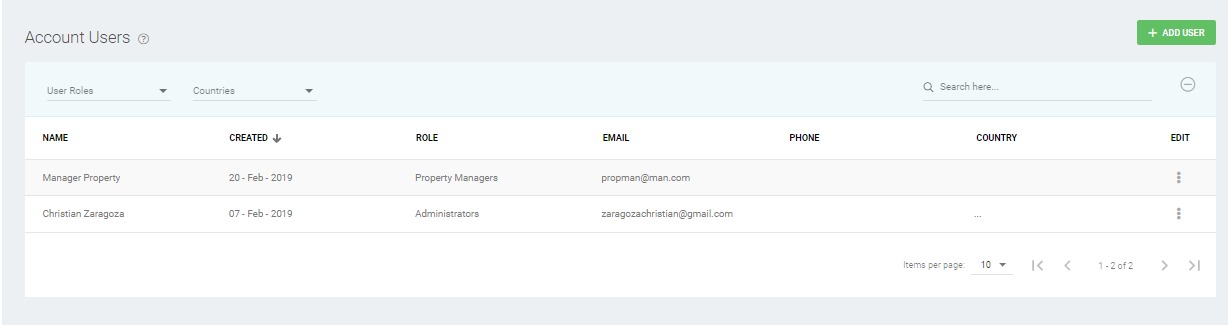
The Account Users list will allow you to search and filter your list of users and edit their individual profiles.
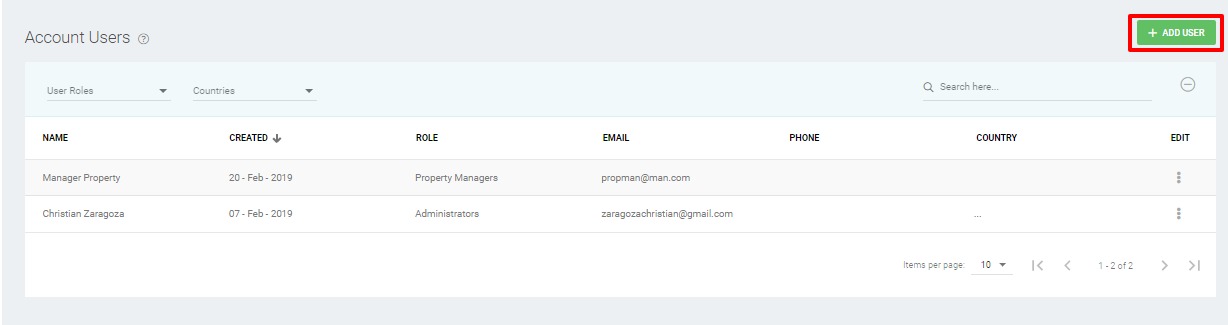
To add a new user click on the Add User button to the top right of your user list.
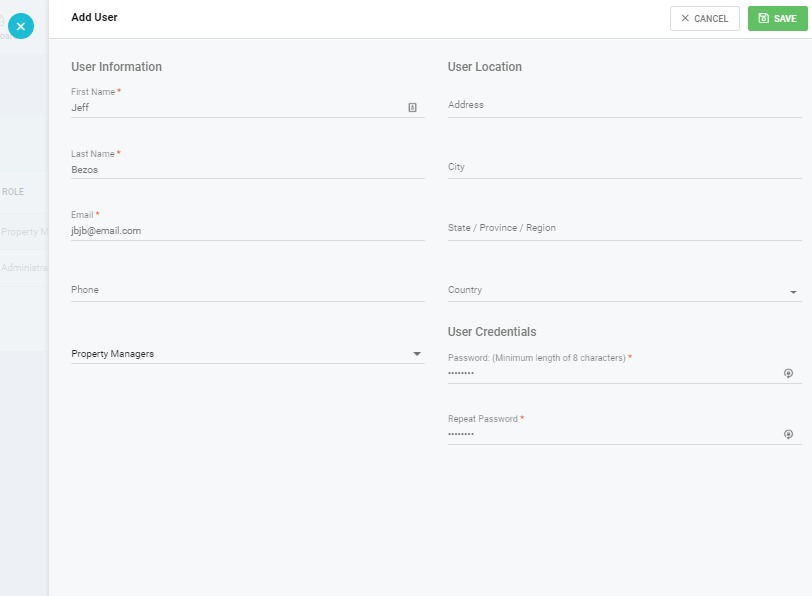
Enter all required info into the add user overlay.Note: Choosing the appropriate role for your user is a very important step in this process. For more information on user roles and what access is allowed for each, please see the following article:User Type and Permissions Overview
Click “Save”. This new user will now appear in your user list.
Updating User Information.
Select "User Settings" under the Settings Menu.
Click on the user whose information you’d like to update.
Enter the updated information into their profile.
Select the green “Save” button.
Your updated user information has been saved!
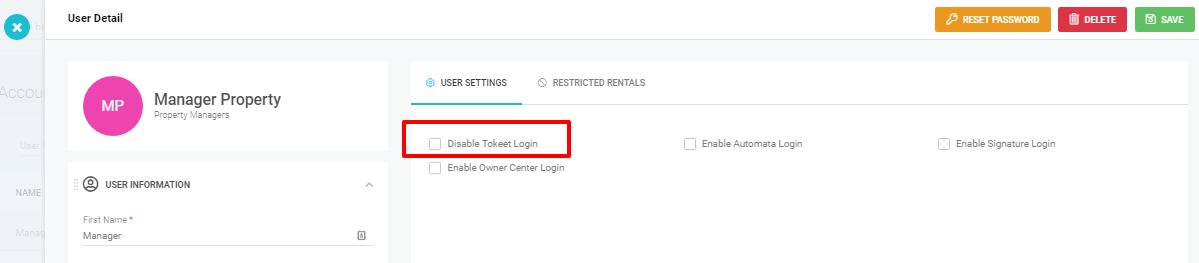
To temporarily disable a user's ability to log in using their profile select the option "Disable Tokeet Login"
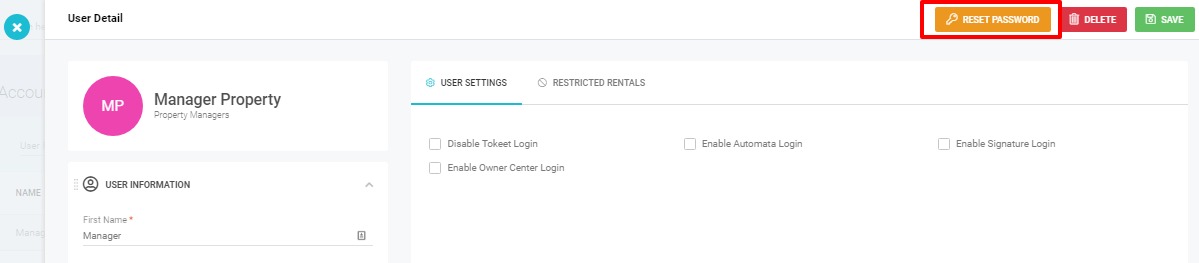
If you would like to Reset the user's password select the Reset Password option. This will result in an email going out to their email automatically with instructions for resetting the password.
Now you and your entire team can begin using Tokeet to its full capabilities.
If you have any further questions please search our help center or email us at support@tokeet.com and we’ll be more than happy to help.