Tokeet Guest Portal
It is easy to create a guest portal with the Tokeet website builder. Once created, a link to the guest portal can be inserted in a message template so that you can include it in your pre-arrival message to guests. The benefit of using a guest portal is that only a guest who receives the link from you will have access to it.
Create a Guest Portal
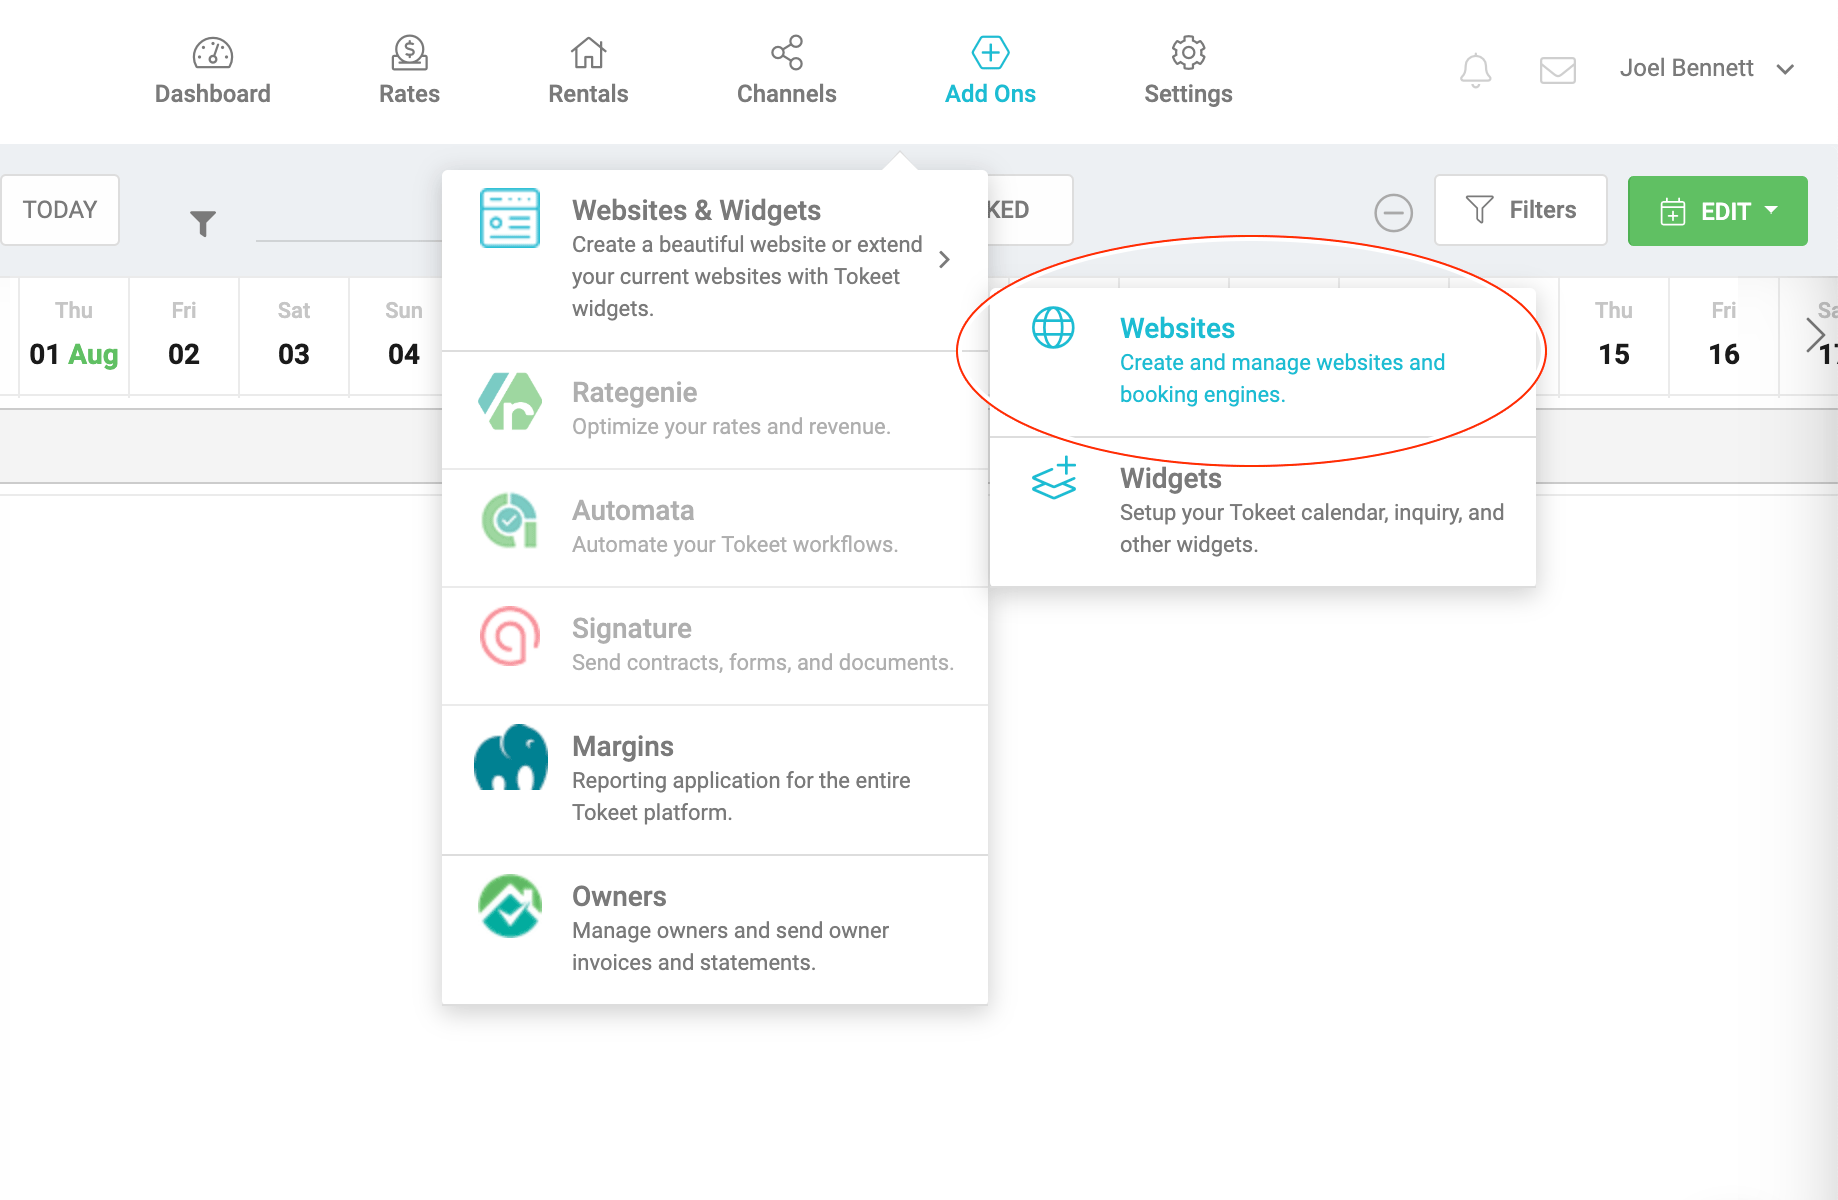
- Click on the Add-Ons button, click the Websites & Widgets submenu, and then select Websites
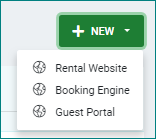
- Click on +New and select Guest Portal
- Complete required info:
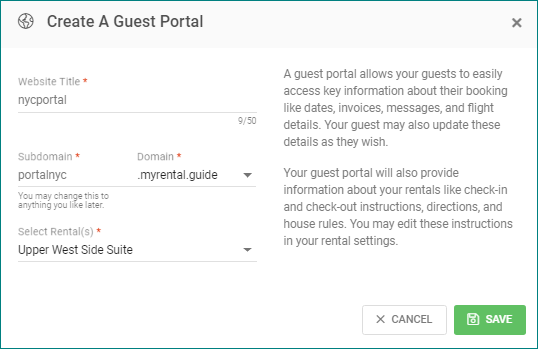
- Website Title
- Subdomain
- Linked Rental
- Domain
Start out by using one of the free Tokeet provided domains. You can always update the guest portal to use your custom domain using the steps in the following article: Custom domains with Tokeet guest portal
- Click Save.
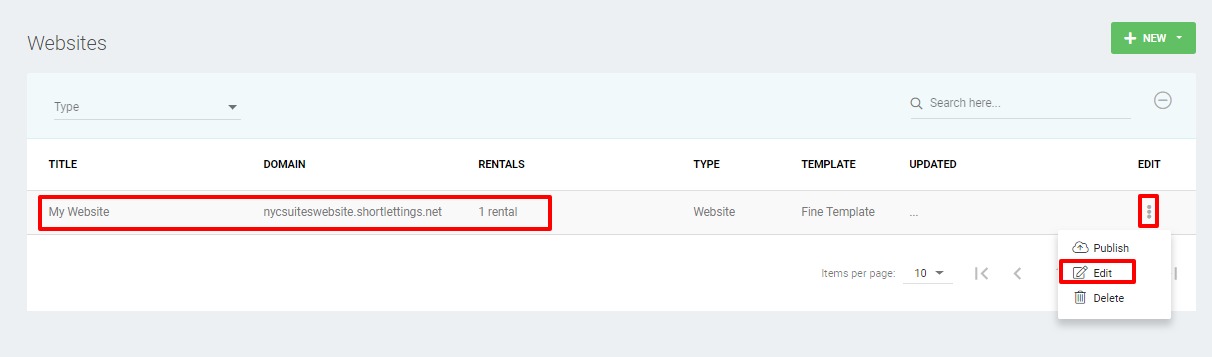
- Click into your newly created guest portal or choose edit from the edit menu (3 dots) to complete a few final steps.
- This will open the Guest Portal details overlay. This page contains many options for customizing your website further. Each section is described in more detail below.
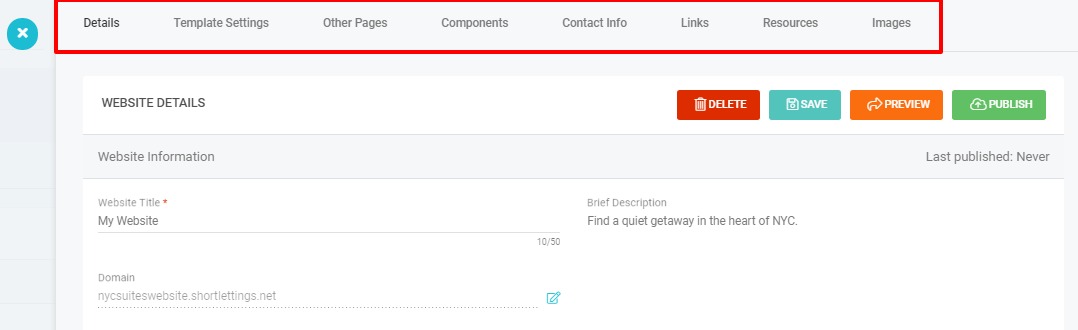
- Template Settings: customize Fonts and Colors, your website Tagline, as well as a description that will be placed in the website's footer.
- Other Pages: you may add additional pages to your website simply by creating a new page here. Your additional pages will be linked from the homepage of your website.
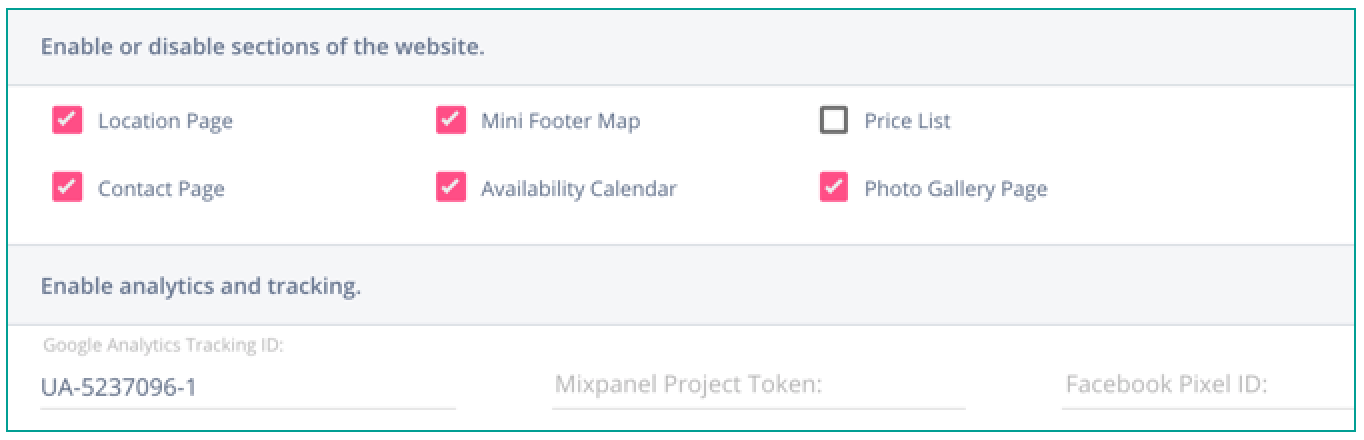
- Components: enable or disable sections of your website. You can also add Google Analytics, Mixpanel, or Facebook tracking code simply by pasting in the ID in this section.
- Contact Information
- Links: enter URLs for your blog, as well as your Facebook, Twitter, and other social accounts
- Resources: include custom CSS, HTML, and JavaScript code in your site
- Images: your website will use images you've uploaded at Rental Settings. You can also add new images here.
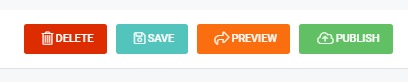
- Save and Publish to set your guest portal live, or use the orange Preview button to preview your changes.
- As you continue to customize your guest portal, feel free to use the "Preview" button to watch your changes in real time. That's it!
Note: Most of your guest portal content comes from the booking details and rental instructions. Tokeet will automatically show the associated rental instructions (check-in, check-out, directions, and house rules) to the guest when they view the guest portal. If you'd like to update this info, you can do so at Rental Settings > Rental Instructions.
Send your Guest Portal to Guests
Once the portal is saved and published, it can be sent to your guests via two methods:
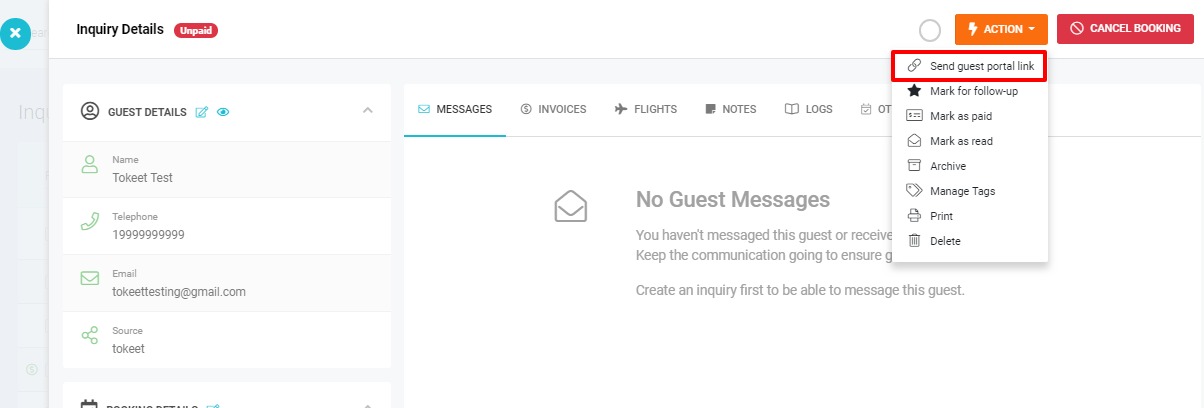
Send link from Inquiry Actions
- In Tokeet open an inquiry by either clicking on the booking on your calendar, or by navigating to Inquiries and selecting the inquiry from your list.
- Use the Actions drop-down menu to select Send Guest Portal link
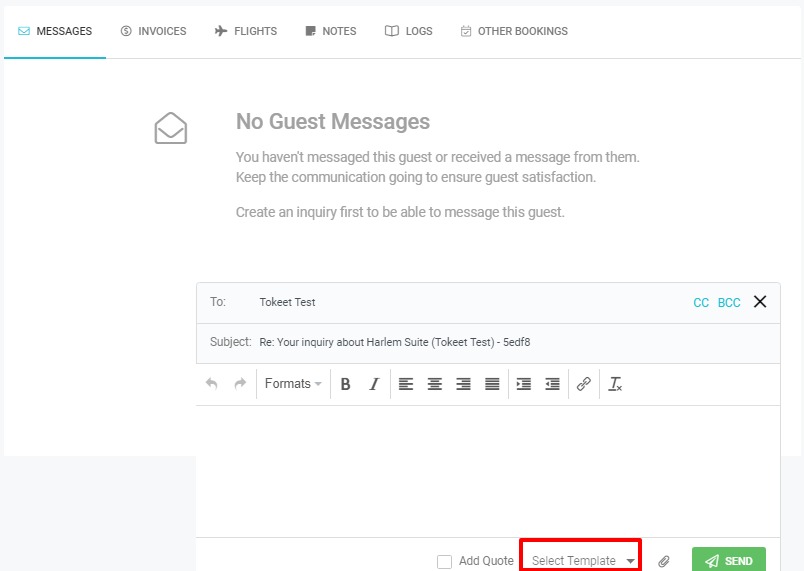
Send link within a message template
- Create a message template and include the data dictionary token for Guest Portal.
- Open an inquiry, select the new message icon and use the template dropdown to send the message template created in step 1 above.
As always, we're here to help. Please feel free to email support@tokeet.com with any questions.